Microsoft has developed a maintenance utility system for its Windows OS, which defines disk cleanup. Here we will discuss the reasons behind disk cleanup taking forever, along with its solutions.
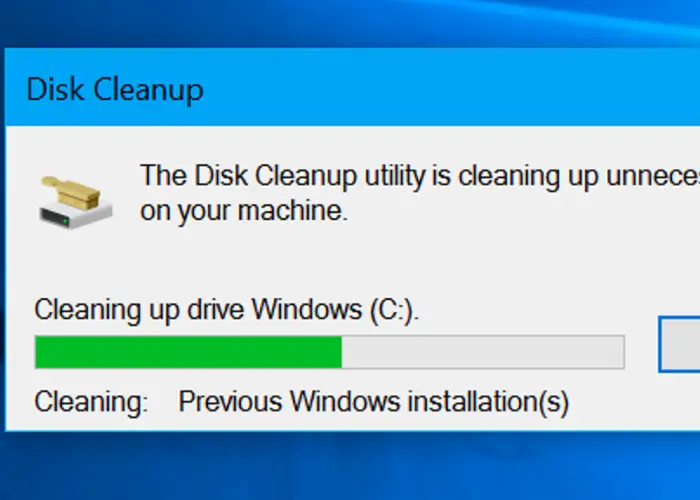
Disk cleanup takes around half an hour to 90 minutes for the whole procedure. It takes a long because the disk cleanup in windows ten gets stuck. If you wait for a while, the issue for windows update cleanup gets resolved. On the other hand, disk cleanup hangs on windows update cleanup. It depends on the situation regarding the duration of disk cleanup.

Below we will discuss the solutions to the disk cleanup taking forever.
Is Disk Cleanup Taking Forever? Solutions To It
There are several ways to resolve when the disk cleanup utility tool freezes while purging windows update cleanup.
Stop The Disk Cleanup Procedure
It is advisable to immediately stop the procedure for disk cleanup when you notice that the PC is hanging and the procedure has come to a standstill. We can stop the procedure by clicking on the Cancel option.
We need not worry if it takes a while for the dialog box to shut. Once the dialog box closes, try running the disk cleanup procedure with administrator facilities.
Once the above procedure is over, start rerunning the disk cleanup and scroll through the list of cleanup files once to check if the files we got stuck on are visible or not. We need to check the other solutions below if the files aren’t visible. Click here to learn to fix Windows 10 100% disk usage in Task Manager.
See Also: 10 Ways to Fix YouTube ‘An Error Occurred, Please Try Again’
Speeding Up The Windows Update Troubleshooter
On running the windows update troubleshooter can fix the problem when disk cleanup hangs on windows update cleanup. Like the utility tool, the Windows troubleshooter helps diagnose the issues related to the system running and assures you to fix them automatically or look for other solutions.
Follow the steps for running windows troubleshooter :
- Choose the start menu and opt on the settings, which will open system settings in the bottom left-side corner.
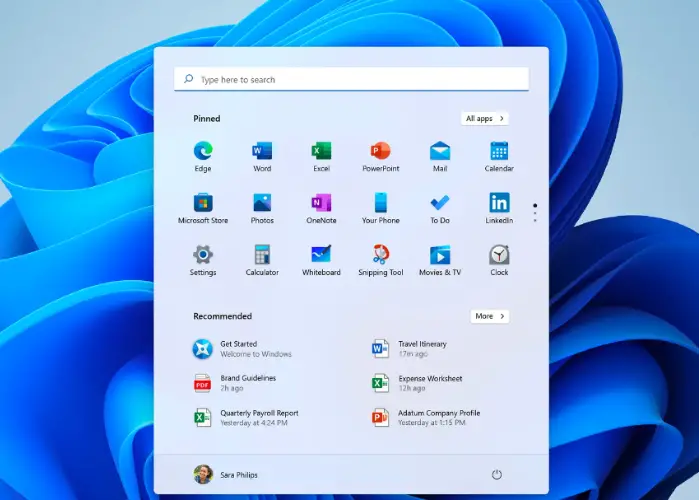
- An alternative way is by pressing the I and windows keys simultaneously.
- Look out for the system option from the settings screen.
- Look out for the troubleshooting option and tick it.
- Check for other troubleshooters from the list.

- Tap on the run option in the windows update.
- The troubleshooter will scan the devices and guide them through repairing any underlying issues.
- Follow it up by running the disk cleanup utility tool to check if the issues have been resolved or not.
See Also: {Solved} Fix atikmpag.sys Blue Screen of Death (BSOD) Error
Remove The Old Folders Of Windows
On upgrading the device’s OS, we see windows storing the old version in Windows. Old folder. It makes things easy if one wants to revert to the old version.
The disk cleanup can take forever if the folders and files are faulty and corrupted. It becomes easy to remove the whole folder, then.
The old Windows folder is possible to be removed in two methods:
Determine By Windows File Explorer
- Press the windows key + E simultaneously for windows explorer to pop up.
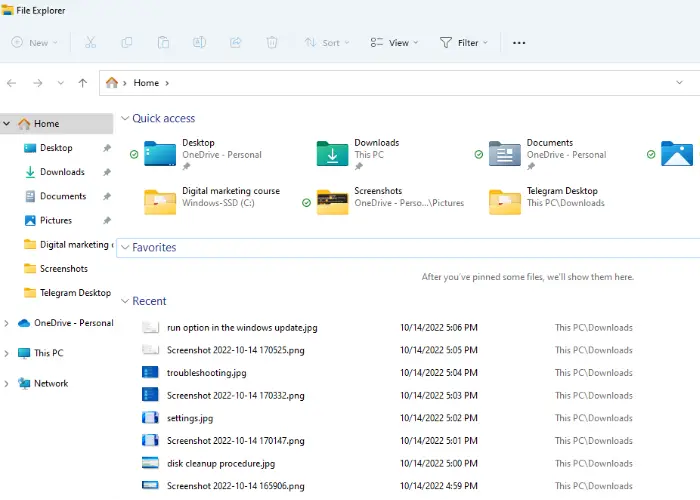
- Type in the search bar C: Windows. Old.
- You will come to the file directory.
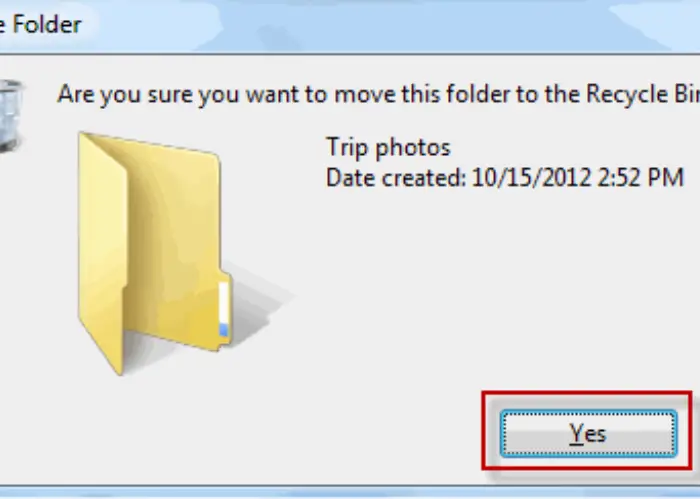
- Right-click and choose the delete option.
See Also: {Solved} Fix Unfortunately Google Play Services Has Stopped
Determine By Command Prompt
- Look out for the search icon next to the start menu option and click on it.
- Opt for a command prompt from the options.
- Alternatively, we can select the command prompt by right-clicking on the start option.
- Type in takeown/F C: Windows.old* /R/A.
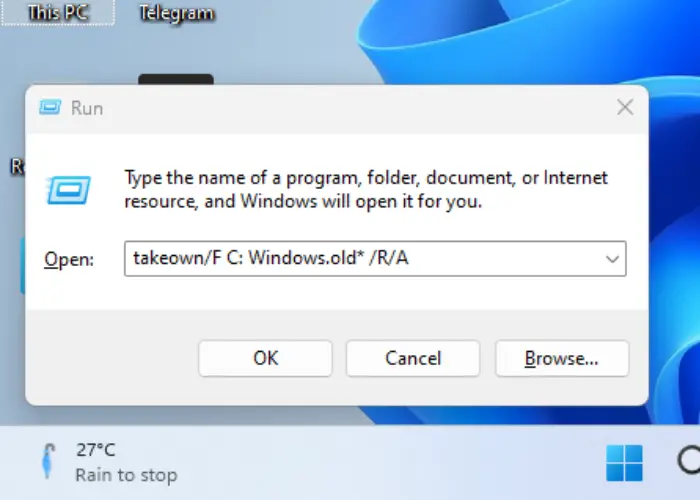
- It guides the deletion of any ownership.
- Type calcs C: Windows.old *.*/T/grant administrators:F
- Type in rmdir/S/Q C:Windows.old*.*
- It guides you to remove the windows folder forever.
Start With Removing The Software Distribution Folder
The software distribution folder is used to keep the updated windows files before installation of the files in the computer. If the folder becomes corrupted, it becomes tough for the disk cleanup to be fulfilled.
Follow the steps to resolve this issue by deletion:
- Windows key and E button pressed simultaneously opens windows explorer.
- Look out for C: Windows software distribution.
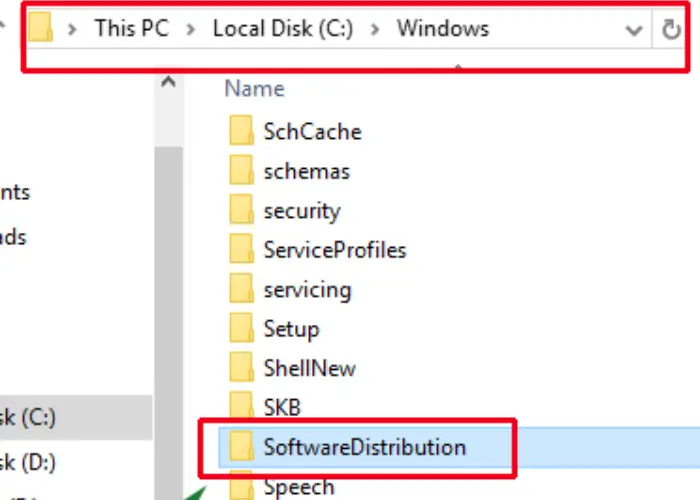
- Click twice on the folder.
- Please select all the subfolders under it.
- Right-click and opt for the delete option.
- Once again, try using the disk cleanup utility tool once you finish the procedure mentioned above. Want to learn how to undelete Files on Windows 10? Read This.
See Also: {Solved} How to Fix Spotify Error Code 18: Unable to Install
Run SFC And DISM
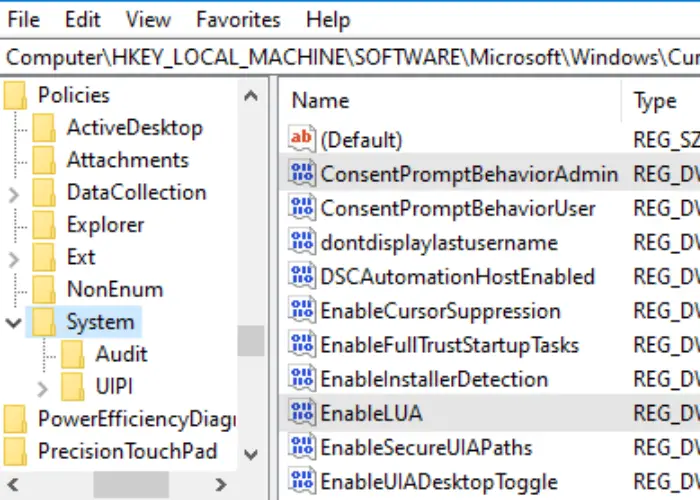
Any file which isn’t visible and missing can be recovered with the help of SFC( system file checker) and DSIM( deployment image servicing and management).
SFC Steps:
- Right-click on the start button.
- Tick on the command.
- Type SFC/scannow.
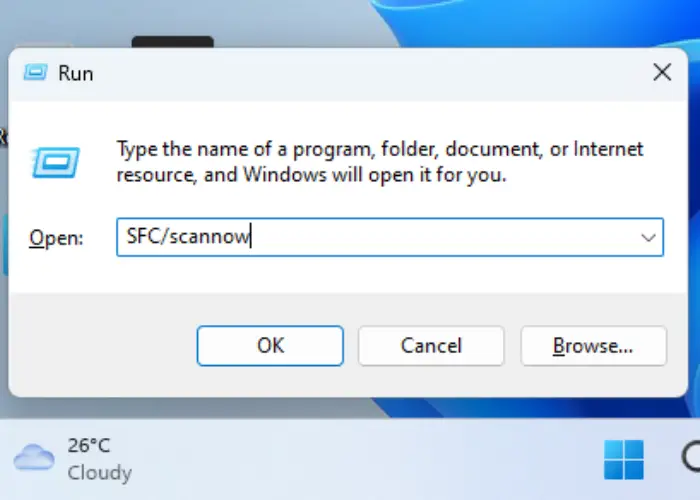
- Chances of corrupted files getting repaired are possible after the scan.
Once the procedure is done, it highlights if any changes are required.
DISM:
- In the command prompt type in Dism/ online/clean up -image/ check health. It will highlight any underlying problems.
- With any problems, entering Dism/online/cleanup-image/scan health will help to scan and know any additional issues.
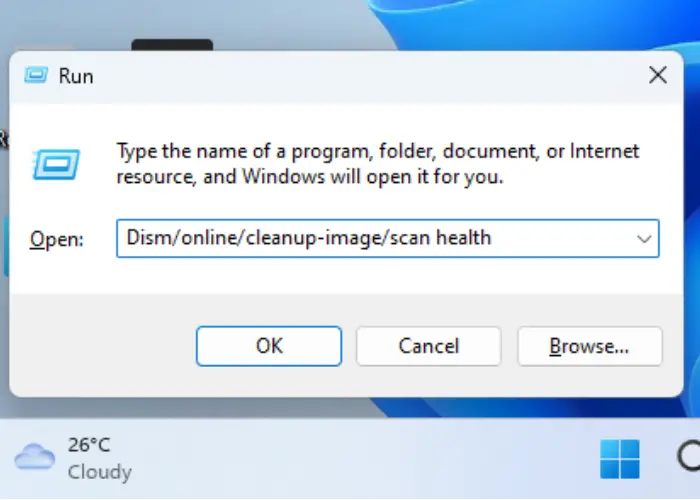
- This scan would take 20 minutes.
- Post this to restore disk health by entering Dism/online/cleanup-image/restore health.
- It takes between 20 minutes to 4 hours, depending on the intensity of the corrupted files.
- After all this, we can again run disk cleanup to check if all the issues are fixed.
See Also: {Solved} 6 Ways to Fix Nvlddmkm.Sys Error on Windows 10
Begin The Windows Disk Cleanup In A Safe Mode
Restarting the PC in safe mode can follow a disk cleanup process to fix the disk cleanup that takes forever.
The steps are mentioned below:
- Restart the device by ticking the power button in the start menu.
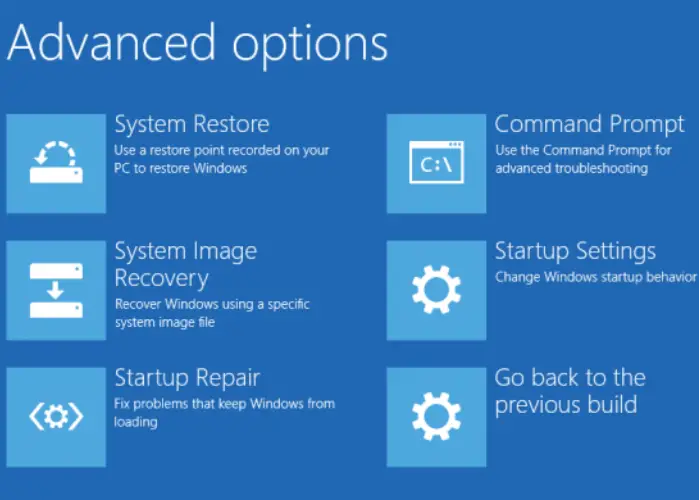
- PC will restart on a blue screen with several options.
- Click on troubleshooting and follow up with the advance options button.
- Tick on the startup settings by jumping to the next window.
- Tap the Restart option.
- On restarting, the screen comes up with several options on a new screen.
- On pressing 4, we can boot safely without the internet, and by pressing five, we can boot safely with the internet.
- Once the reboot is over, try checking the disk cleanup utility to see if things are on track.
See Also: Xbox 0x406 Error: We can’t Sign You In Right Now
FAQs
What is disk cleanup?
It is a process that involves cleaning up the disk providing free space, and also improving the functionality of the system.
How important is disk cleanup?
It is important to use disk cleanup once a month to avoid slowing down the device and improve its quality and speed.
How long does the disc cleanup process take?
Anywhere between 30 minutes to 90 minutes is the time disc clean up can take.
Is it important to restart the device after disk cleanup?
It is important to restart the device after disk cleanup since it doesn't remove all the files, though it removes those updated files that aren't in use anymore.
Conclusion
In summary, we have discussed a solution to the disk cleanup taking forever. Disk cleanup also clears up space and removes all the underlying issues. Also, there are times when disk cleanup can take forever due to corrupted files. The tricks mentioned above and fixes will guide one through the disk cleanup utility tool and the way to handle when the disk cleanup takes forever.
See Also: Steam Won’t Open Error {Solved}- [7 Ways to Fix ]
Aloukik Rathore is a Delhi-based entrepreneur, musician, writer, and tech nerd. He has been blogging for about 7 years now.