By Nvidia control panel you can configure the Nvidia Control Panel to modify the graphics settings and the media processor settings. But frequently, the Nvidia control panel keeps closing. Also, Every user has a question, why does Nvidia control panel keep crashing?
A few reasons why the NVIDIA Control Panel closes on its own are: Outdated NVIDIA Control Panel Conflicting application/driver, Corrupted NVIDIA Control Panel application file, Outdated Windows system, Limited output dynamic range, disturbing the integrity of the graphics card power configuration, etc.

Gaming is prevalent with Nvidia graphics cards, and one of the critical components of Nvidia cards is the Nvidia Control Panel. Many are reporting that the Nvidia control panel keeps crashing. Does this happen to you? Chill! Here are the top 8 methods to fix the Nvidia control panel closing after opening.
Methods to Fix Nvidia Control Panel Keeps Closing
Here are the top 8 methods to fix the Nvidia control panel that keeps closing
Method 1: Scan and Repair Your System
It’s typically hard to investigate because there could be a million reasons for this. If your PC is experiencing this problem constantly or when making significant changes to your system, you’re probably looking at a system issue.
This guide by Microsoft will walk you through how to scan manually. Alternatively, you can try Restoro. It’s a professional Windows repair tool that can analyze your PC’s overall health and determine the best course of action for your system. With just one click, you can install entirely new components of your system, so you don’t need to reinstall Windows or all of your software and won’t lose your data or settings.
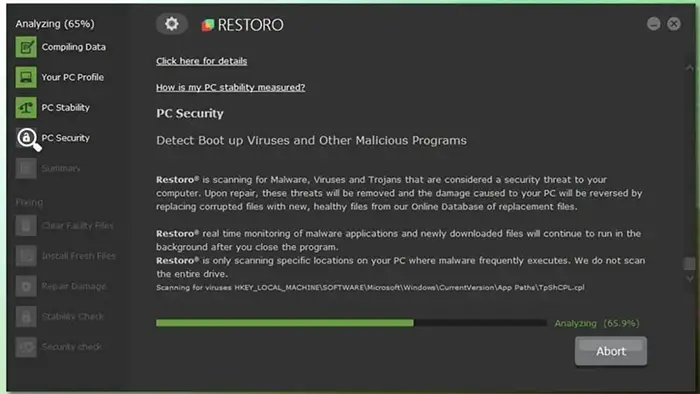
- Download and Install Restoro. Open Restoro. It will run a free scan, and it will also provide a detailed PC Status.
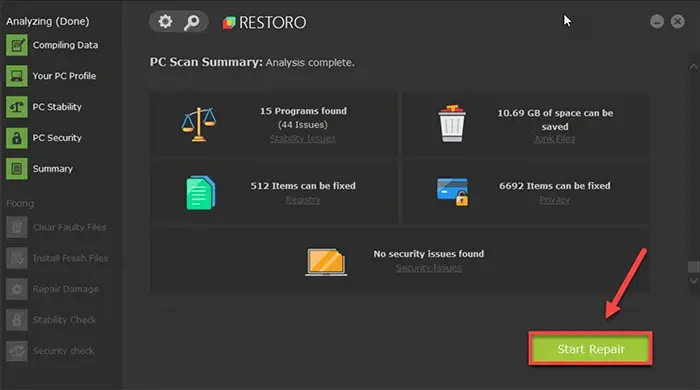
- Once finished, you will see a report showing all the issues, and to fix the issues, click Start Repair.
Once done, reboot your PC and check that the issue continues.
If yes, let’s move on to another method.
Method 2: Run as an Administrator
You could try running NVIDIA Control Panel as administrator if the problem seems to be related to permissions. Follow the necessary steps.
- On your keyboard, press Win+R (the Win logo key and the R key) and type or paste C:\Program Files\NVIDIA Corporation\Control Panel Client. Then press Enter.
- Right-click the nvcplui.exe and select Run as administrator.

This is the simplest method, and it’s most effective too.
Method 3: Check Files on your Desktop
A few users have reported that some files/folders on their Desktop have been the cause. According to feedback, you can check and move files or folders with lengthy names. Or you can move your entire Desktop to another drive and see if the Nvidia control panel keeps closing itself.
If this method doesn’t move in your favor, follow the next one.
Also See: 5 Ways To Fix NVIDIA Installer Cannot Continue Error
Method 4: Check for System Updates
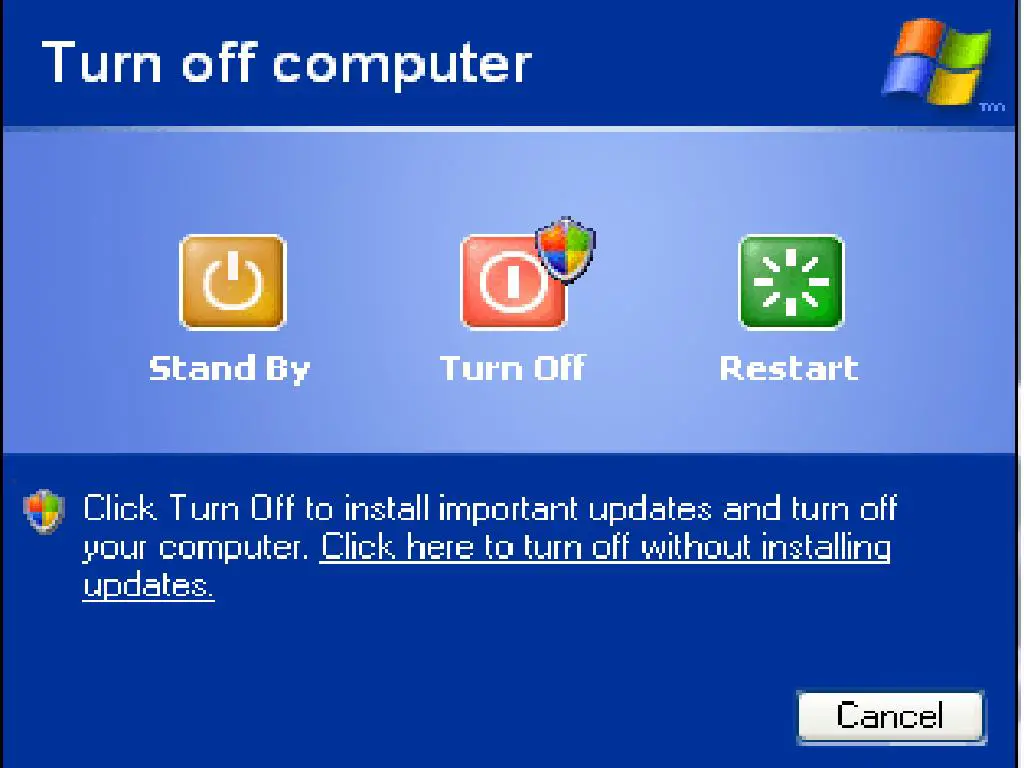
There are some possibilities to run into issues if you don’t have all the necessary updates installed. Usually, Windows will update automatically, but you should ensure the patches have been installed manually. Follow the below steps to fix the Nvidia control panel crashing on launch.
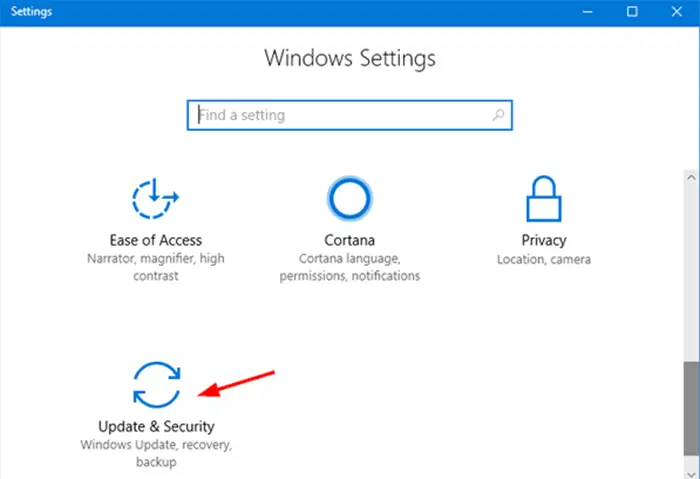
- On your keyboard, press Win+I (the Windows logo key and the alphabet “i” on your keyboard) to open the Windows Settings app. After opening, Click the Update & Security option.
- And then click Check for updates. Windows will search, then download and install the available patches. It might take some time.

Ensure your system is up-to-date, then reboot your computer and launch NVIDIA Control Panel. If the problem continues, move on to the next solution.
Method 5: Update your Graphics Driver
The problem is likely driver-related, which means you might be using an out-of-date graphics driver. You should always update your drivers so that you do not face any difficulties.
It is possible to update your graphics driver manually by going to the NVIDIA website, downloading the correct driver installer, and following the instructions step-by-step. However, if you don’t have time or patience, you can update automatically with Driver Easy.
- Download and Install Driver Easy Software. After downloading, Run Driver Easy software and click Scan Now.
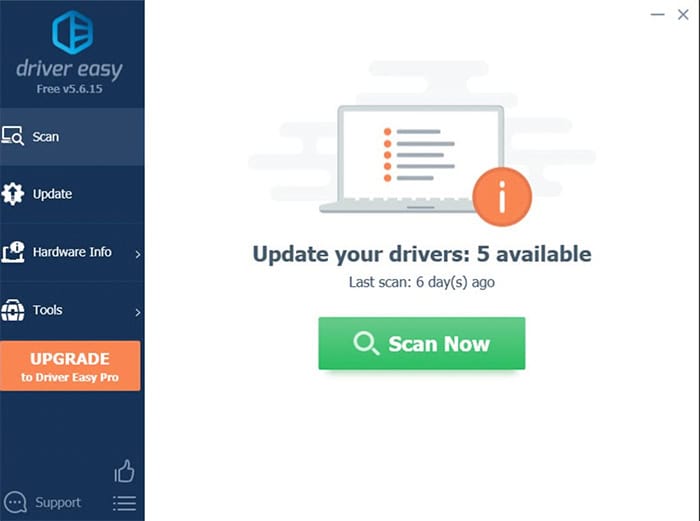 Driver Easy will scan your entire PC and detect any problem related to your drivers.
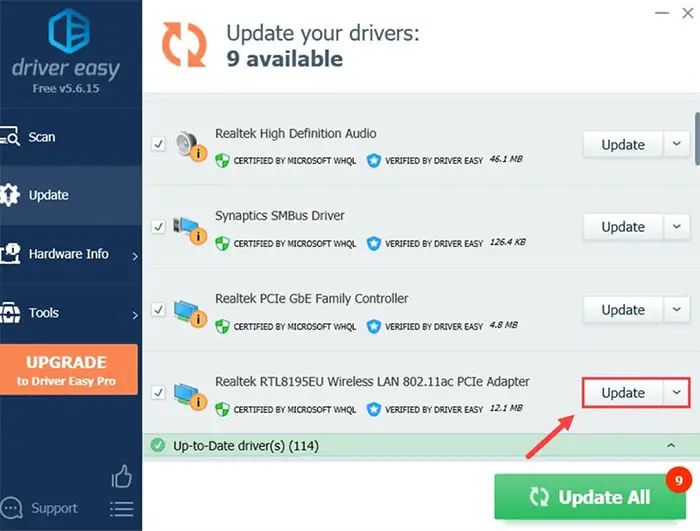
By clicking Update All, your complete updates will download automatically and install the exact version of all your missing or outdated drivers on your system. ( This feature works on a PAID version of Driver Easy)
After updating your drivers, reboot your PC and see if the Nvidia control panel keeps closing.
See Also: 5 Ways To Fix NVIDIA Installer Cannot Continue Error
Method 6: Remove Conflicting Programs
Some users say the most common conflicting programs include the Opera browser and some 3D programs. You can check your computer for recent changes to see what’s changed, or you can do a clean boot to find them out.
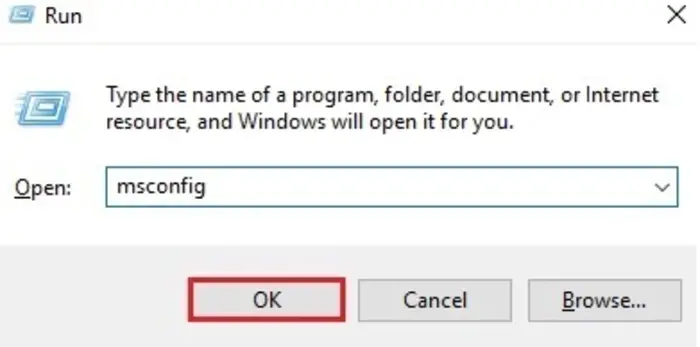
- Press Win+R (the Windows logo and alphabet r keys) on your keyboard to open the Run box. After opening Run Box, Type or paste “msconfig” and click OK.
- Go to the Services tab in the pop-up window and check the box next to Hide all Microsoft services.
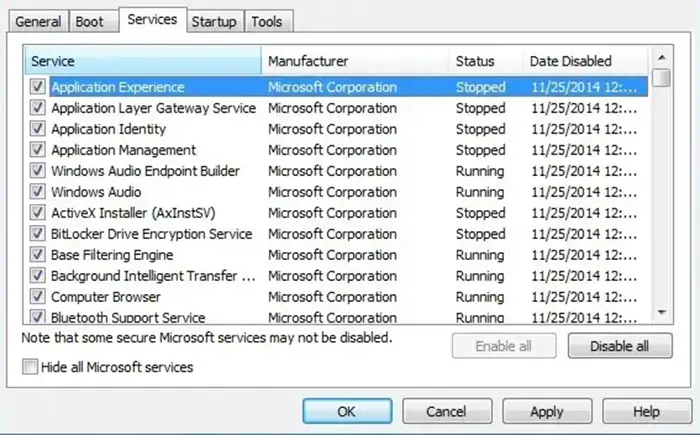
- Uncheck all the services EXCEPT those that belong to your hardware manufacturers, such as Realtek, AMD, NVIDIA, Logitech, and Intel. Then click OK to apply the changes. On your keyboard, press Ctrl+Shift+Esc simultaneously to open Task Manager, then navigate to the Startup tab.
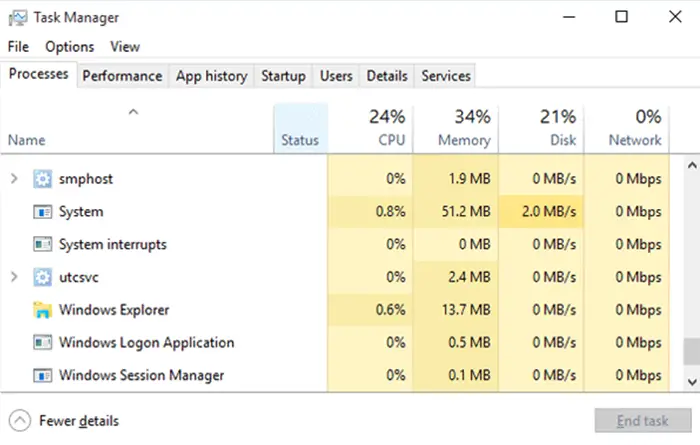 One at a time, select any programs you suspect might be interfering and click Disable.
Reboot the PC, and The next step is to perform a clean boot and disable half of the services and startups until the problem the Nvidia control panel keeps closing is resolved.
Method 7: Turn Off GPU Virtualization
GPU Virtualization is a mode in VirtuMVP that can cause some issues, so use the above steps to disable it. Disabling it can solve the Nvidia control panel keeps closing issue.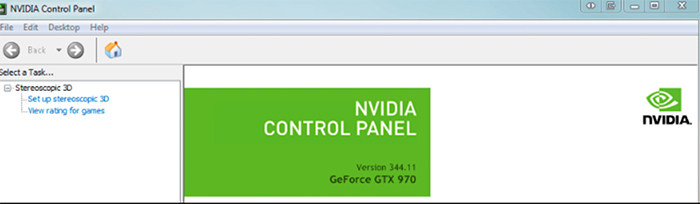
Open the VirtuMVP control panel. It is located in the system tray icon next to your clock.
In the main tab, there will be a GPU Virtualization option. Turn it off and check if it has fixed your Nvidia Control Panel issues.
This method can probably solve the issue. It’s quite a simple process, and it can also be effective.
See Also: 4 Ways To Fix GeForce Experience Error 0X0003
Method 8: Rebuild files of the NVIDIA Control Panel
The constant crashes may be a result of corrupted files. If so, the following steps will help you rebuild the critical components.
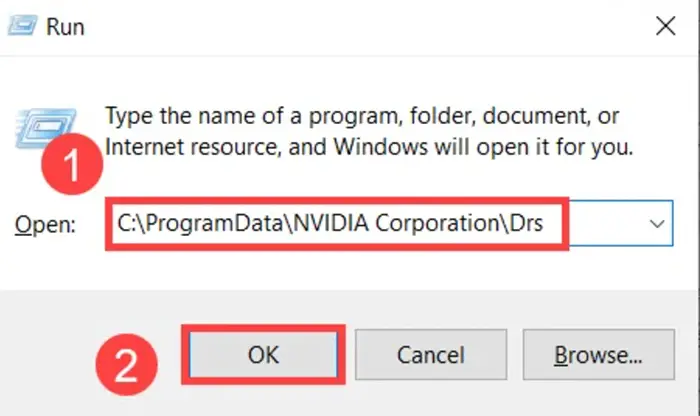
- On your keyboard, press Win+R (the Windows logo key and the R key) and type or paste C:\ProgramData\NVIDIA Corporation\Drs. Then click OK.
- Delete nvdrsdb0.bin and nvdrsdb1.bin. Next, restart your PC and check if NVIDIA Control Panel works correctly.
FAQs
How to open NVIDIA Control Panel?
You will typically see an option on your desktop by right-clicking it. By using this, you can open NVIDIA Control Panel
Do I need to change my Graphic Card if my Nvidia panel is crashing?
There are so many software issues related to Nvidia Panel crashing, you can also try fixing some of them.
Also See: Optimize The NVIDIA Control Panel For Smooth Performance And Gaming
Conclusion
In conclusion, here are the top 7 methods to fix the Nvidia control panel that keeps closing. You can try any of the methods above and resolve your issue. Ensure that you follow each step carefully and proceed with the other step.

Gravit Sinha: Founder of ValidEdge, a problem-solving website, driven by his lifelong passion for fixing issues.