As one of the most popular venues for buying and playing games, Steam is a requirement for PC gamers running Windows. Thanks to the hundreds of titles available and the ability to exchange games with friends, you can easily amass a sizable game library using the Steam platform. Of course, that assumes that Steam functions well. Steam issues, such as the steam service component is not working, are rare but do occur sometimes.


Steam is a dependable and trustworthy platform, although occasionally, there may be issues with installing or using it. Here’s what you need to do if you wish to know how to resolve a Steam service problem on Windows 10:
- Launching Steam as an administrator
- Start the Steam service again or reinstall it.
- Ensure that the Steam Service launches automatically.
- Resolve Steam Client Service issues.
- Using Windows PowerShell and running Steam Repair
- Steam Shopper Service Reconfigure
Let’s look at the explanation of the steps that each solution involves.
See Also: Fix: Windows 10 Won’t Automatically Connect To WiFi
“The steam service is not working properly”: Top 6 fixes
Try these six methods to fix the error: Steam service component is not working.
The fixes are the following:
Launching Steam as an administrator
You should launch your Steam service as an administrator if it currently uses a local user account.
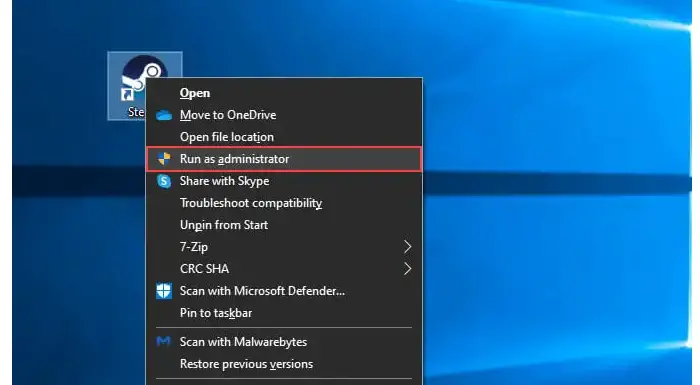
The problem will be resolved by running the streaming service as an administrator. The stream can correctly function and update if it is run as an administrator.
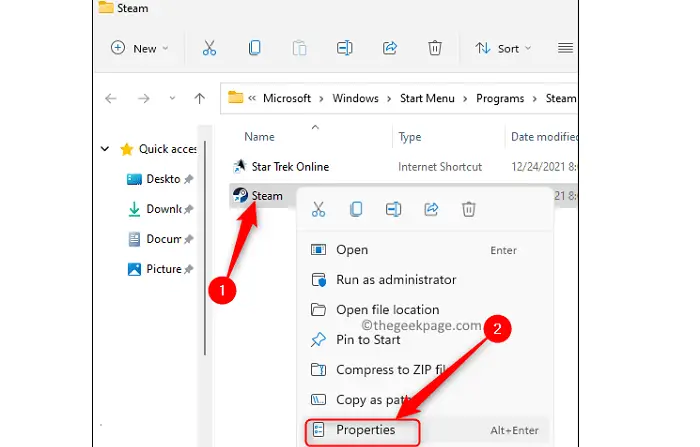
To control the stream as an administrator, please adhere to the guidelines below:
- In file explorer, search for Steam. You’ll be able to find its location on your PC. To access the properties menu, right-click the steam.exe file.
- Then, tick the box on the compatibility tab in front of Run this application in administrative mode.
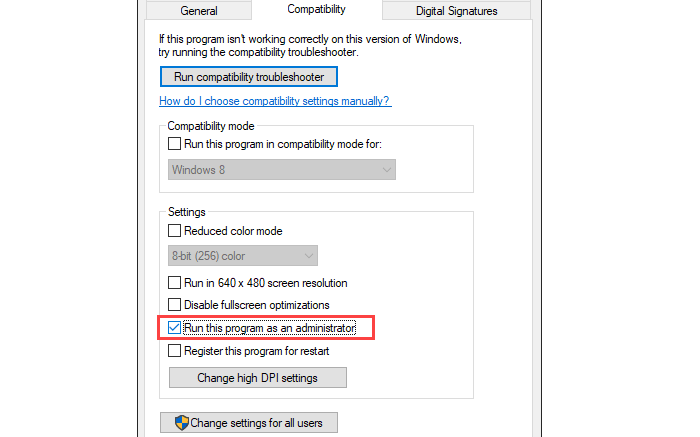
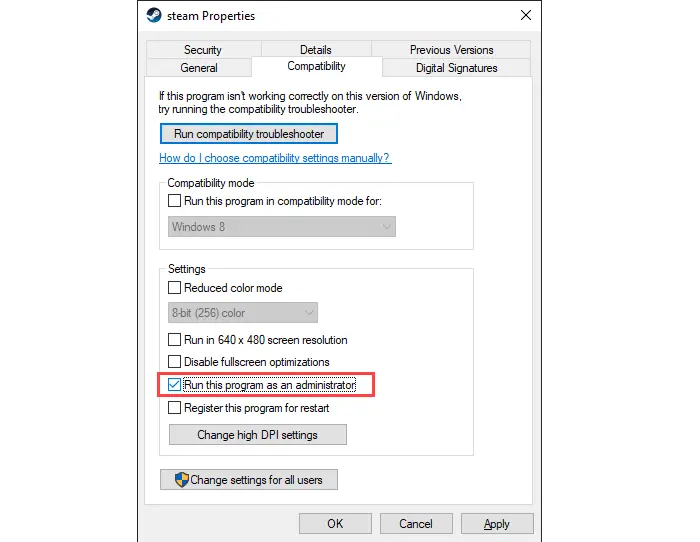
You may also choose Modify Settings for All Users if your system has numerous accounts.
See Also: 10 Ways To Fix Steam Disk Write Error In Windows 10
Start the Steam service again or reinstall it
Suppose the measure mentioned above didn’t help you. You may always attempt to remove Steam and then reinstall it. And it is likely to resolve the steam service error you’re experiencing.

Even though reinstalling Steam is quite simple, there are a few things to remember before doing so, such as creating a backup of the games you have loaded on Steam.
Here is a simple tutorial on how to back up your Steam games.
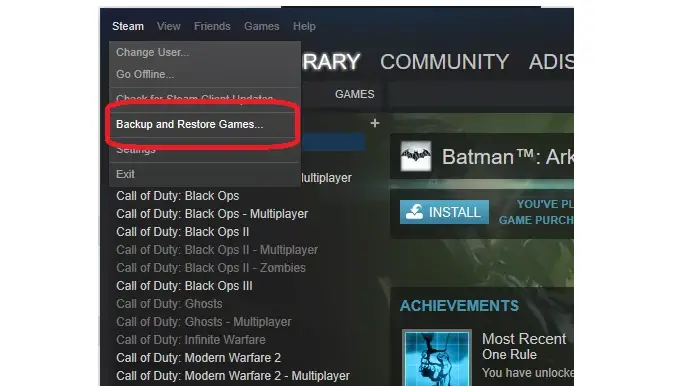
- Start the Steam client on the computer. Click Steam in the upper left corner, followed by Back-up and Recover Games.
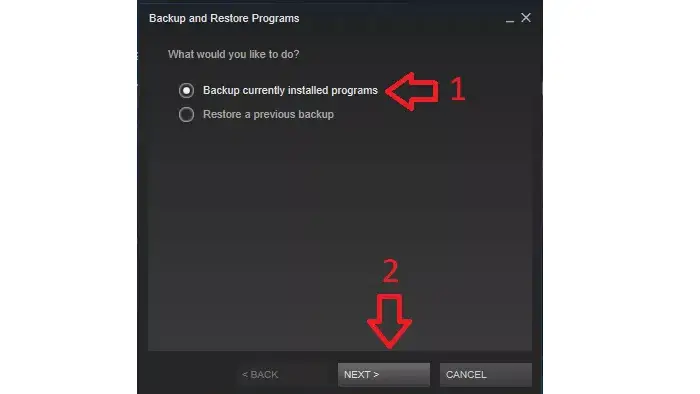
- Select the first option if you want to back up your games (backup currently installed programs).
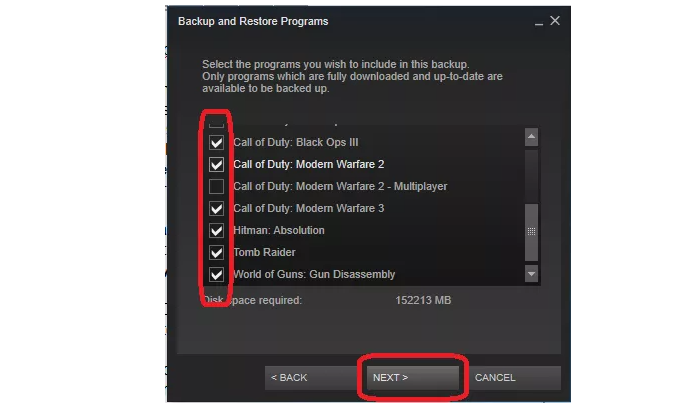
- The choice of whatever games you want to back up will then be presented to you. At the rear end of the window, choose the games you wish to create a backup for and press the “ok” button.
- For the last step, select an emergency backup folder on the computer.
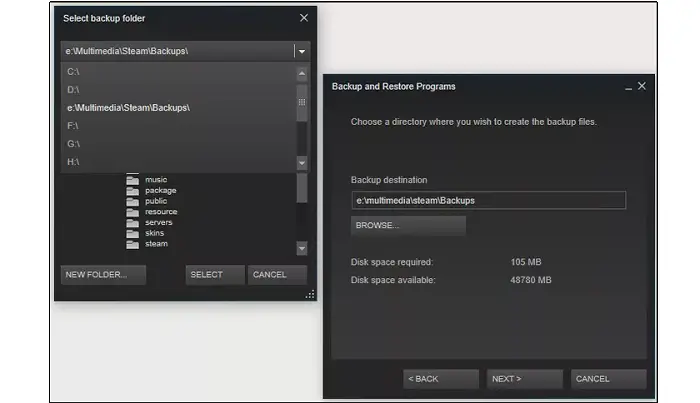
Click Next after selecting the drive and backup location you want.
Follow the procedures listed below to remove Steam.
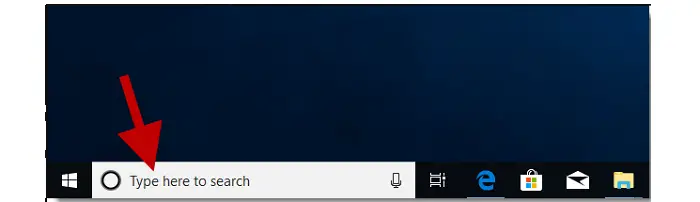
- Adding or uninstalling applications should be entered in the search area after clicking the Windows key and pressing the search button.
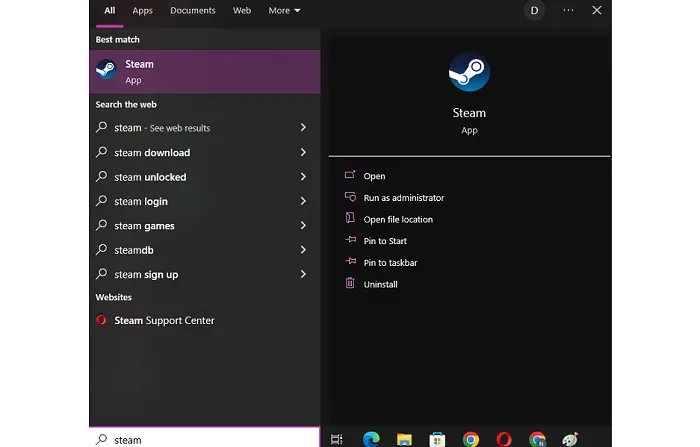
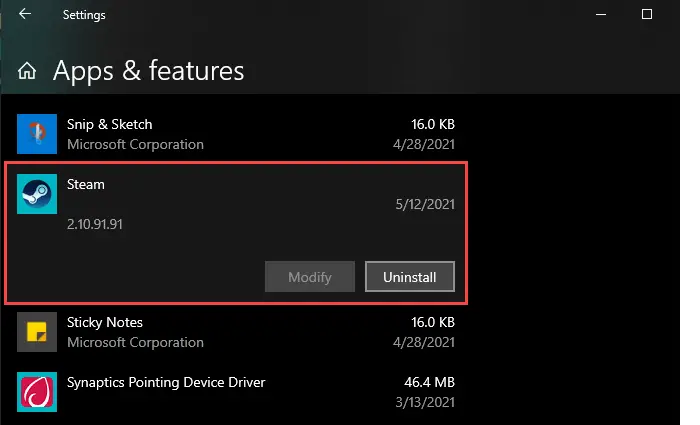
- Click on the search results when they appear. Look for Steam in the new window and click it.
- Tap Uninstall.
Currently, you may reinstall Steam on your computer using this official link.
See Also: How To Reinstall Windows 10 Without Losing Data
Ensure that the Steam Service launches automatically
The preset settings permit the Steam client program to launch it as needed. This could be the reason for the steam service component error. You can quickly resolve the steam service problem by setting it to run automatically. Follow the instructions below to have the Steam client program start automatically:
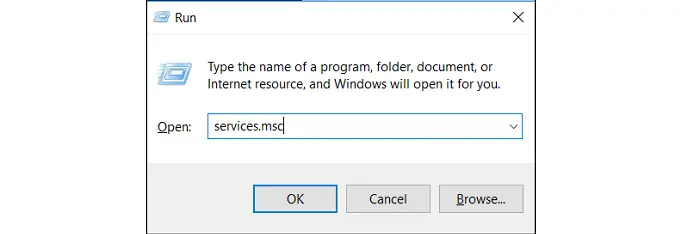
- To start the run utility, simultaneously press the Windows and R keys. In the search box for run utilities, enter services.msc.
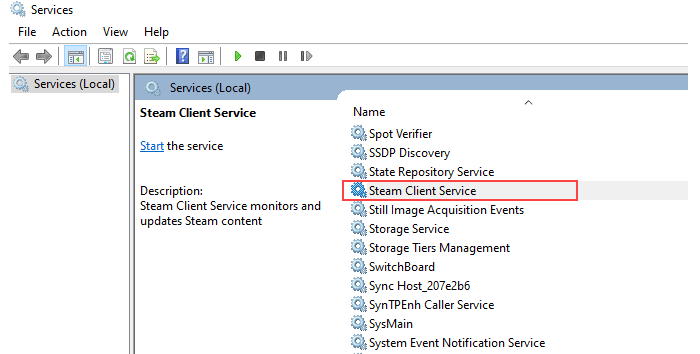
- In the services pane, look for the Steam client service.
- Change the starting type to automatic under the general tab.
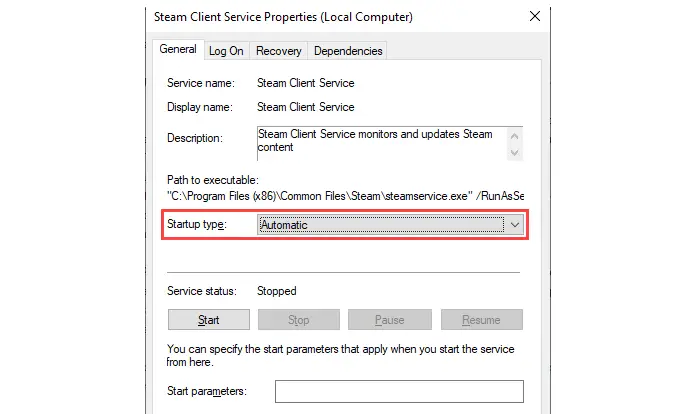
Apply, alright, and then shut the window with a click.
See Also: Steam Game Won’t Launch Issue | 8 Ways To Fix
Resolve Steam Client Service issues
Please follow the instructions below to fix the steam service component is not working error:
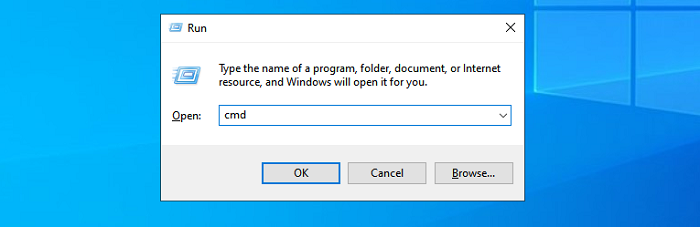
- Open the run utility by simultaneously pressing the Windows & R keys. To launch the command prompt as an administrator, enter cmd in the run utility’s search bar and then press Ctrl+Shift+Enter.
- Type C: Program Files (x86)SteambinSteamService.exe repair to access Steam’s default path, which is C: Program Files (x86)SteambinSteamService.exe.

Click Enter.
Making use of Windows PowerShell to run Steam Repair
“The steam service component is not working properly on this computer” problem can be resolved using Windows Powershell. Executing only the repair command in Windows Powershell can quickly address any errors you have with the Steam services.
Follow the instructions below to use Windows Powershell to resolve the error:
- Right-click the Start button first. Select Windows Powershell from the menu now.

- To launch the steam service repair, type C: Program Files (x86)SteambinSteamService.exe/repair into the Windows Powershell dialogue box when it has opened.
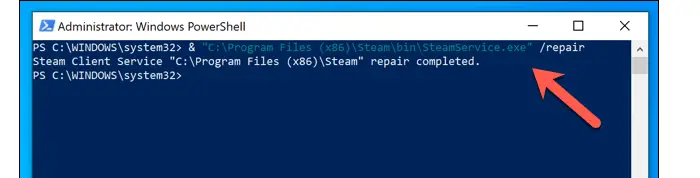
Run Steam when the fixing process is complete to look for any problems.
See Also: 10 Ways To Fix Class Not Registered Error In Windows 10
Steam Shopper Service Reconfigure
Thanks to the default settings, the steam client program can launch it when necessary. You can quickly resolve the steam error-310 by setting it to run automatically.
Follow the instructions below to enable the Steam client software to start automatically:
- Press the Windows and R keys simultaneously to launch the run utility. In the run utility search area, enter services.msc.
- Look for the steam client service in the services window.
- Change the startup type to “automatic” under the general tab.
- After selecting Apply and okay, close the window.
FAQs
Why do you keep experiencing the steam service component is not working issue?
The main reason behind the Steam Service issue is that Steam lacks the permissions necessary to carry out some actions or access files. Simply launching Steam as an official administrator will take care of this.
Do you want to install the Steam service?
Every PC player needs the Steam service from Valve. It is one of the first software that should be installed on any gaming PC because of its excellent variety, recommendation functions, and discounts. It's crucial on Steam Deck.
What purposes serve the Steam service?
Users can buy video games through the Steam client's built-in digital storefront, the Steam Store. Once a customer purchases a game, a perpetual software license is added to their Steam account, enabling them to download and play the game on any supported device.
Do you need to install Steam on your SSD?
While Steam can be installed anywhere, you might wish to download your game files—or at the very least, the titles you are currently playing—on an SSD. You can easily move to install files on Steam, so if you need to make room for a new game, you can always relocate an existing one to another location.
Conclusion
If you’ve read this far into the article, you’ve probably already solved the steam service component not working problem. We have listed all the tried and tested solutions to help you with your concerns. If not, try turning off your antivirus since it may also result in improper steam operation.
See Also: 6 Ways To Fix Could Not Connect To Steam Network Error
You can always find me playing the piano or playing FIFA when I’m not binge-watching TV Series with pizzas. Fountainhead of TechWhoop.