System Error Memory Dump Files are created when your system encounters a crash or runs into some Blue Screen of Death error. It collects a copy of your computer’s memory at that time. It will help to diagnose the reason for the discrepancy.
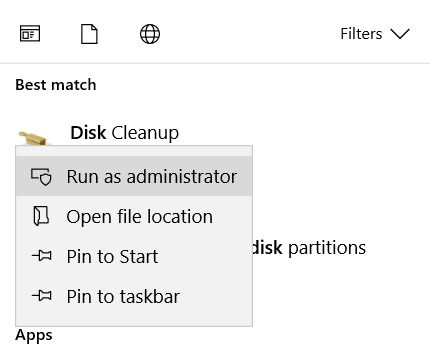
Click the Start button and type disk cleanup into the Windows search bar. Right-click Disk Cleanup and select Run as administrator. It scans the C: drive (or the drive containing the operating system) and displays a window to select the deleted files. Select OK to have the utility complete the cleanup, and then reboot the system to finish.

Keep reading this article to know more in detail. Here is an essay on How To Fix the Windows 10 Startup Menu Missing.
See Also: Fix The Error: ‘System Restore Does Not Appear To Be Functioning Correctly On This System’ Easily
How To Delete System Error Memory Dump Files
The disk cleanup utility can delete these files and free up space. Sometimes these dumps keep accumulating and reach a size of up to 100GB.
There are different types of these dumps:
- Complete memory dump: The most significant type of dump. Contains a copy of all data used by the operating system. If Windows used 4GB during the crash, the memory dump is 4 GB.
- Small memory dump: Smallest known of 256Kb only. It contains very little information, which is useful when debugging a problem.
- Kernel memory dump: It occupies 1/3rd of your physical memory size. It includes memory allocated to the Windows kernel and hardware abstraction level.
- Automatic memory dump: Same size as the kernel memory dump.
Many times, the disk cleanup utility fails. Below we have given specific solutions that will help you tackle the problem.
Using Elevated Cleanup
You can use the high clean-up utility to delete system error memory dump files. If the memory dump is in the process of being analyzed, the average clean-up utility will not help.
1. At First, press the Windows and S keys simultaneously. It will open the Search bar.
2. Then type in “disk cleanup.” Afterward, hit Enter.
3. Then right-click on the result that comes up. Then select Run as administrator.
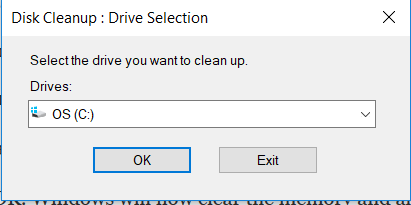
4. A small window will ask which drives you to want to clean up. Then select local disk C if your operating system exists in it. Afterward, press OK.
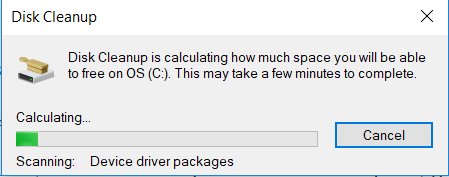
5. Windows will scan all files. Then it shows how much space can be freed.
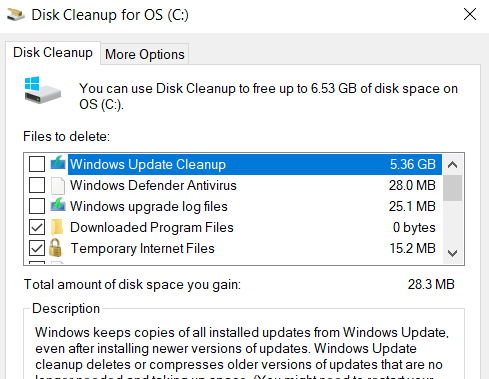
6. Check all those boxes which you want to remove. Then Click OK. Windows will now clear the memory and allocate free space.
You can again check for space by running the clean-up utility. Elevated cleanup and regular cleanup may give different values. Larger values in the elevated version are not a thing to worry about. You can still remove the files.
Solutions to other errors –
- 10 Ways to Fix Critical Process Died Errors in Windows 10
- What is RAVBg64.exe? 8 Ways to Fix it
- 8 Ways to Fix the Default Gateway is Not Available
Make Use Of The Extended Disk Cleanup
The extended disk cleanup utility gives you more options when deleting system error memory dump files. It also provides you with increased details. You need administrator privileges for this solution.
1. At First, press the Windows and S keys together. The search bar comes up.
2. Then type in Command Prompt. Afterward, Right click on the result that shows, and select Run as administrator.

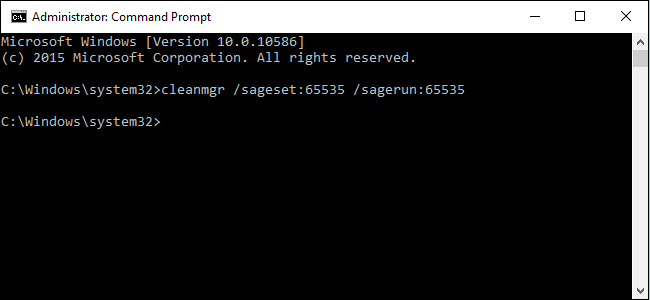
3. In the command prompt window, type in the following message & hit Enter.
Cleanmgr /sageset:65535 & Cleanmgr /sagerun:65535
4. You can see various other options available in the extended disk clean-up utility.
5. Select all those you want to remove and click OK.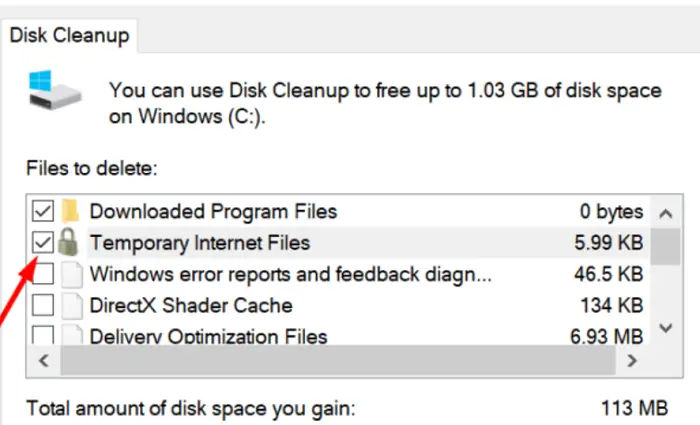
Finally, reboot your system.
Check if this solution works for you.
Check Out: 5 Ways to Fix Critical Structure Corruption Errors in Windows 10
Deleting The Dump Files Physically
Now you can try to delete the system error memory dump files physically. First, we find the location of the dump files. Then we navigate to that folder and delete the files manually.
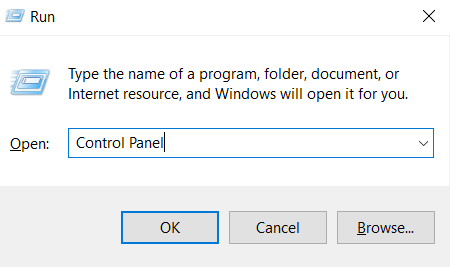
1. At First, press the Windows and R keys simultaneously. It will open the Run dialog box.

2. Then type in Control Panel and hit Enter.
3. When in the Control Panel, go to System and Security.
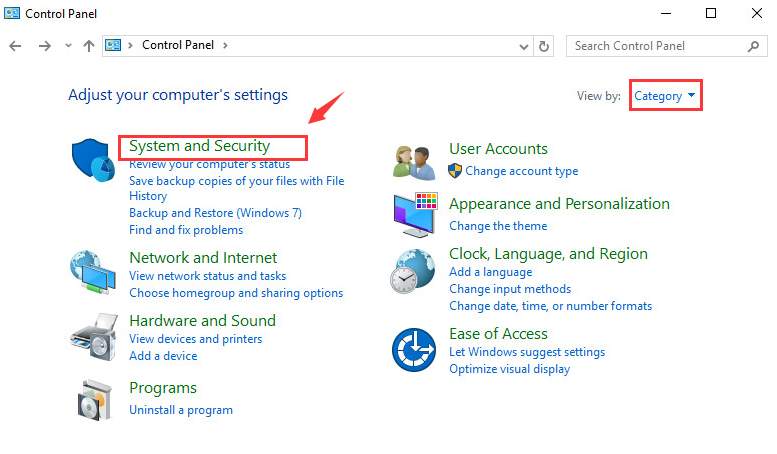
4. Afterward, navigate the options until you find the System category.
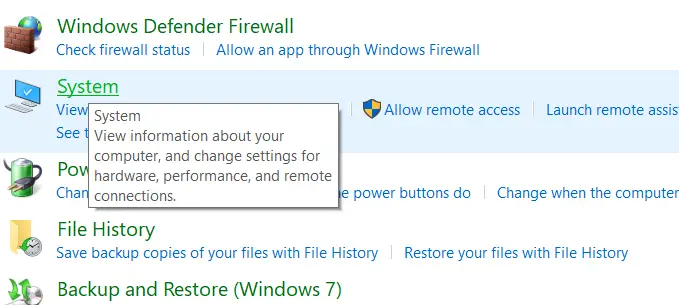
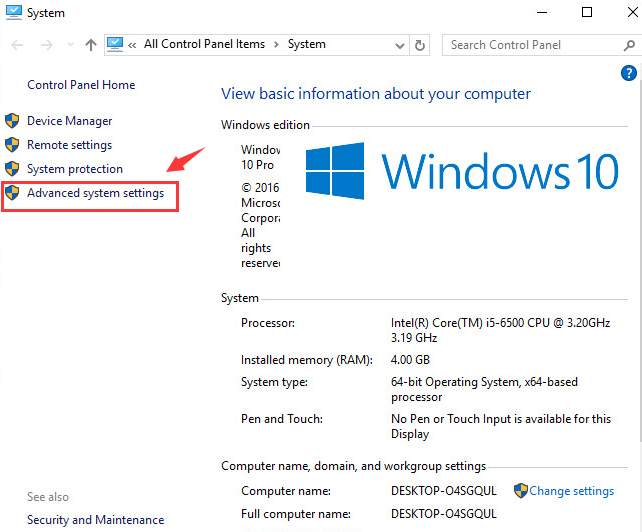
5. Then, inside this, click on Advanced system settings. It is present on the left side.
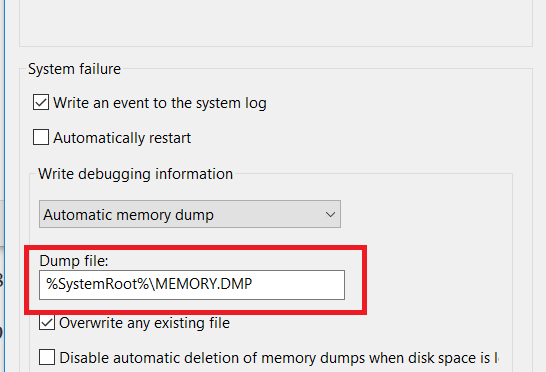
6. Then, under the Startup and Recovery tab, select Settings.
7. You can see where the dump files are stored in the Dump file dialogue box. Also, in the drop-down list, you can check the storage for each type of dump file.
8. Afterward, press the Windows + R keys. Soon paste in the copied storage location of the dump file.
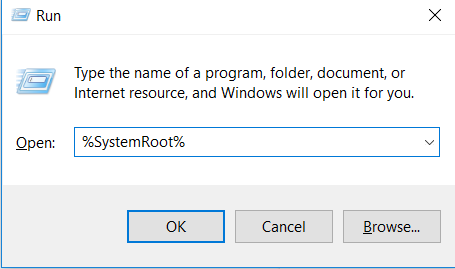
9. Then search for the file named as MEMORY.DMP. Delete it with administrator privilege confirmed.
Also, read –
- 3 Ways to Fix Error Code 0x8007000D in Windows
- {Solved} Fix Program Can’t Start Because d3dx9_43.dll is Missing
- 8 Ways to Fix Kernel Security Check Failure in Windows 10
- {Solved} Fix Unmountable Boot Volume (STOP: 0x000000ED)
Finally, restart your system to see if you have resolved the System Error Memory Dump Files.
Disabling Indexing In Local Disk C
Indexing maintains an index for most of the files in the computer. This is done for easier searching and file retrieval. But, in some cases, indexing eats up a lot of space. Then this solution here is helpful if some unknown object occupies space.
1. At First, within your file explorer, go to This PC. Then right-click on local disk C, or whichever drive has your operating system. Afterward, click on Properties.
3. In the Properties window, there will be an option at the bottom that says Allow files on this drive to have contents indexed in addition to filing properties. Uncheck this option.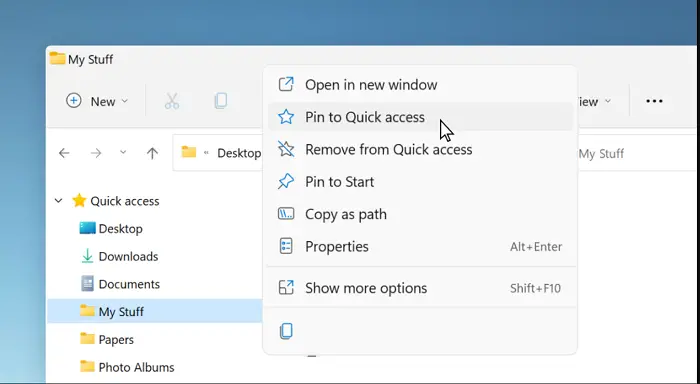
Then click on Apply to save the changes. reboot your system and see if the system error memory dump files exist.
Executing Commands In The Command Prompt
You can try a few commands in the Command Prompt, which can help you free the System Error Memory Dump Files. You need an administrator account to follow this solution.
At First, press the Windows and S keys together. The search bar comes up. Then type in Command Prompt. Afterward, right-click on the result that shows, and select Run as administrator.
In the command prompt window, type in the following commands. Then press Enter after typing in each command.
fsutil usn deletejournal /d /n c:
chkdsk /scan
compact /CompactOs:never
winmgmt /salvage repository
del “%temp%\*” /s /f /q
then del “C:\$Recycle.bin\*” /s /f /q
del “%systemroot%\temp\*” /s /f /q
vssadmin delete shadows /for=c: /all /quiet
Dism /Online /Cleanup-Image /StartComponentCleanup /ResetBase
restart your system and check if the current problem is solved.
FAQS
How can I eliminate system error memory dump documents?
Activate 'File Explorer.' By the program edition, you are employing, right-click 'This PC' or 'My Computer' and select 'Properties.' Choose 'Advanced system settings' in the menu on the left. Click the 'Settings' option within the 'Startup and Recovery' part. Change' compose diagnostic info' to 'None' and uncheck 'Automatically restart' in the 'System Failure' segment. To keep the modifications, click 'OK.'
How can I fix the inability to stop the Windows Update service?
If you can't get the upgrade process to cease functioning, then: Start Command Prompt as administrator and use net stop wuauserv to terminate. Try selecting 'Stop' from the context menu of 'wuauserv' on the Task Manager > Services tab. Try halting once more after restarting your computer. Make sure no background updates are happening. Start in Safe Mode and try to stop. If problems continue, get expert assistance.
How can I relaunch the update service?
Getting Services: After pressing Win + R and typing 'services.msc,' press Enter. Where to find Windows Update Service: 'Windows Update' can be found in the list of services by scrolling down. Launch the Service again: Click 'Windows Update' with the right mouse button, then choose 'Restart' from the context menu. Additional Method: To right-click on the service, choose 'Stop,' and then repeat the process to resume it.
How do I start a service in cmd?
Establish an operation by using the Command Prompt: Open the Command Prompt in administrator mode. Net start (service name) is the command to run. The initials of the application you want to launch ought to substitute for (service name). For instance, execute the command net begin wuauserv to activate the 'Windows Update' operation. To run the command and launch the specified service, press Enter.
Conclusion
So, these were a few methods that should help in deleting the system error memory dump files. Also, share and comment below if either of these methods helped you.
See Also: Should I Delete Windows Setup Files? (10-Step Guide)

Gravit Sinha: Founder of ValidEdge, a problem-solving website, driven by his lifelong passion for fixing issues.