Windows 10 often encounters many network connection failures. These situations occur for many reasons, like incompatible network drivers, corrupt network adapters, issues with the firewall, etc. In this article, we will discuss why Windows 10 can’t connect to this network and how to fix it
- Type “Troubleshoot” into the Start menu without the quotation marks.
- Choose “Troubleshoot System Settings.”
- Click “Internet Connections”.
- Choose “Run the Troubleshooter.”
- When the Troubleshooter finishes, see if you get the missing protocols message.
The user-facing Windows 10 Can’t Connect To This Network often annoys us. This article is, hence, written to ease the difficulties that you are facing and how to fix them. Keep on reading!

How to Fix Windows 10 Can’t Connect To This Network Error
The various solutions are given below to fix the error:
Method 1: Update the Network Driver
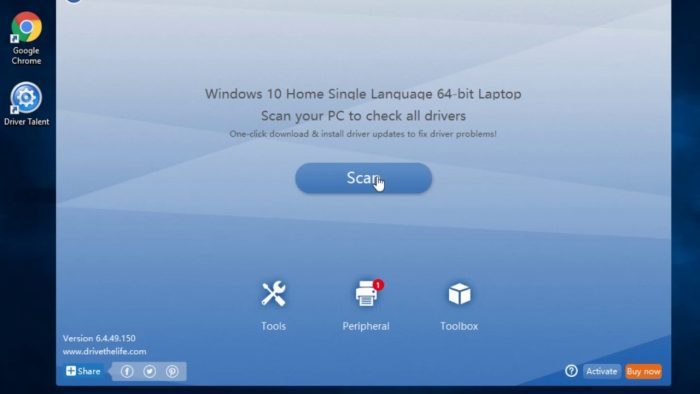
Whenever you encounter such issues, the first attempt to resolve them should be to update your network driver. The incompatible version of the network driver often leads to Windows 10 Can’t Connect to this Network error. To find the ambiguous driver leading to the hurdle, download a utility tool named Driver Talent. Also, it will help you to find the driver causing the problem and update the latest version automatically.
Follow the steps to update the driver:
- First, Download and Install the mentioned tool. Then Click on Scan.
2. Afterward, you do the scan, and the list of all drivers will update. Update the driver labeled by clicking on the Repair button.
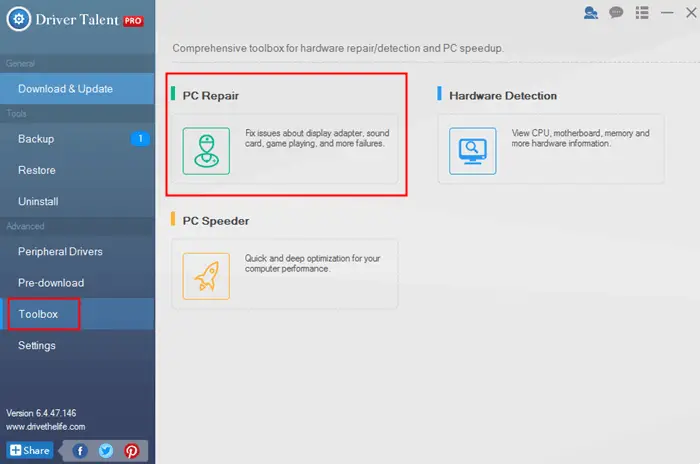
Finally, Restart your System.
Check if the issue is resolved by applying the method. Navigate below for more ways.
Method 2: Uninstall the Network Adaptors
Due to corrupted network adaptors, connection establishment failure can be seen. In addition, the best solution here can be uninstalling the entire Network Adaptor and installing the latest version. The steps to be followed are simple and stated below:
- First, Go to Start Menu., Then, Type Control Panel in the search bar.
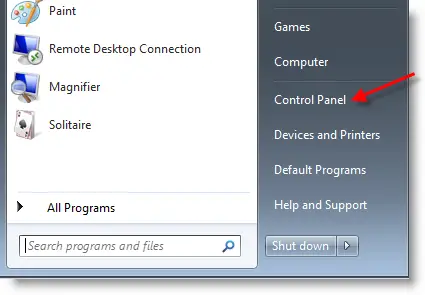
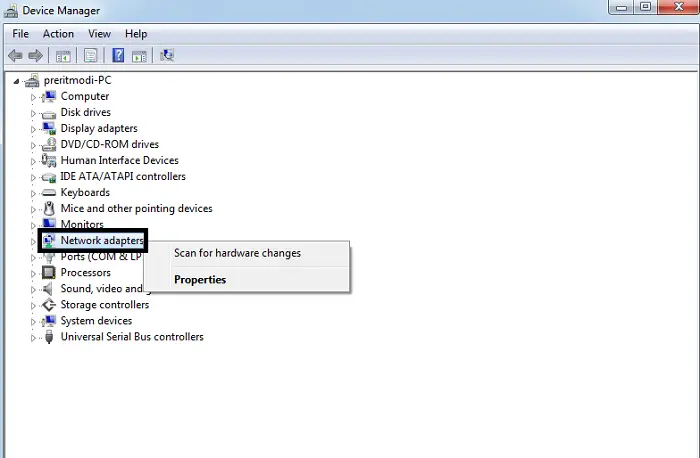
2. From all the control panel items below for Device Manager. Afterward, double-click on it to open. On the opened window, navigate below for Network Adaptors.

3. Then Right Click on the option. Select Uninstall.
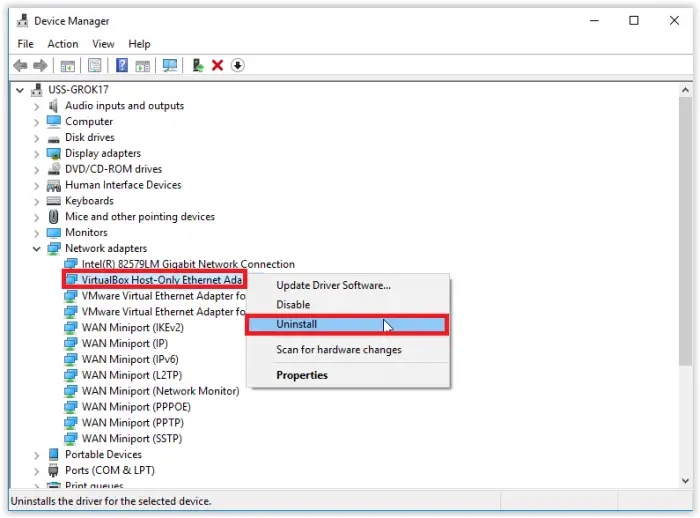
Finally, Follow the instructions given on the screen.
Reboot your system, and Windows will automatically install the respective driver.
Check Out:
10 Ways to Fix Video Scheduler Internal Error in Windows 10
4 Ways to Fix Kmode Exception Not Handled in Windows Error
Fix Antimalware Service Executable High CPU Usage {2018 Updated}
Method 3: Forget the Wireless Connection
If your system is connected to a wifi network and Windows 10 won’t connect to wifi or Windows 10 Cannot Connect to This Network error continues, try to forget your network password and reconnect it.
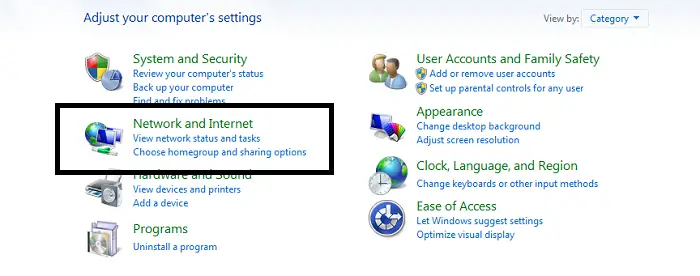
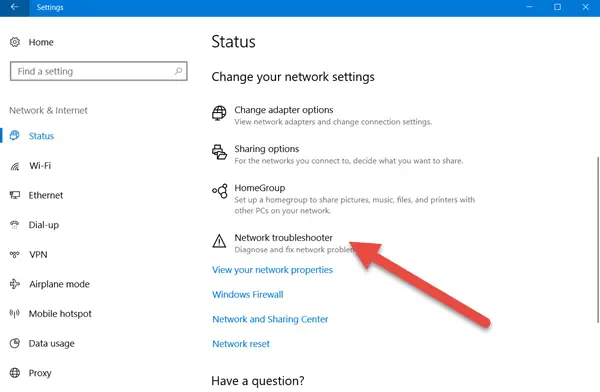
1. First, Open Settings and locate Network & Internet.
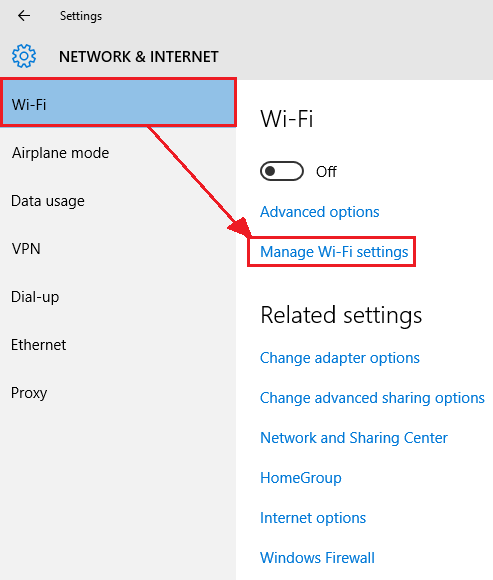
2. Then Go to the Wi-Fi option and click on Manage Wi-Fi settings.
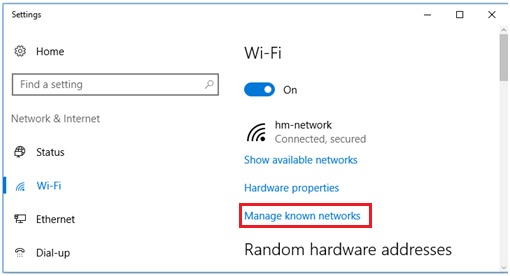
3. Navigate below. Manage known networks.
4. Afterward, Select the wifi network you want to use and click Forget.
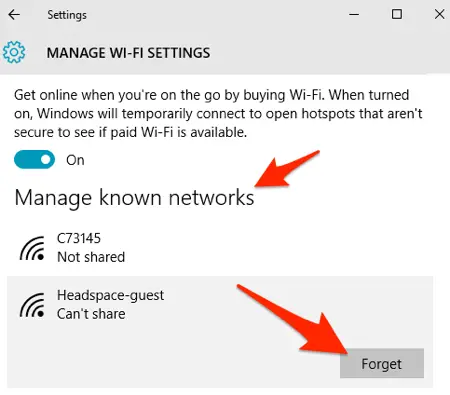
Connect the same wireless network by entering the password again.
You may also like –
3 Ways to Fix Windows Update 0x80070422 Error
[Solved] How to Stop Skype from Starting Automatically
{Solved} Fix Unmountable Boot Volume (STOP: 0x000000ED)
Method 4: Disable IPv6
Disabling the IPv6 can solve the connection failure. Follow the below-given steps:
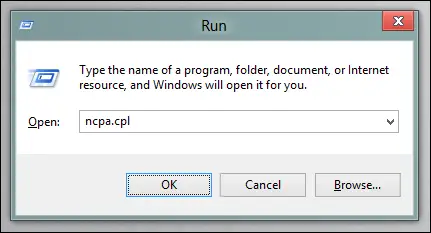
- First, Press the Windows logo + R to open the Run Window. Secondly, Type ncpa.cpl and hit Enter.
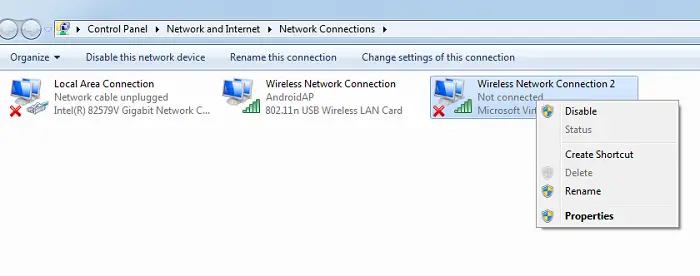
2. Afterward, Right-click on Network Adaptor and select Properties.
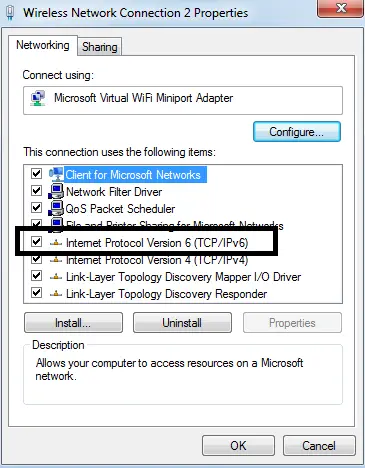
3. Un-tick the Internet Protocol Version 6 (TCP/IPv6) and click OK.
Now open the browser to check if the Can’t Connect to this Network Windows 10 problem gets resolved. Also, check for any IP Address Conflict on your PC
Method 5: Use Troubleshooting Commands
Using troubleshooting commands to solve Windows 10 connection problems via Command Prompt. The commands to be typed and steps to be followed are written below:
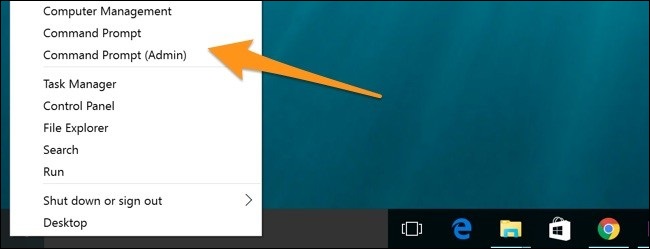
- First, Press Windows Key + X together. From the opened list of items, then select Command Prompt.
2. On the appeared Command Prompt, Run the below-written set of commands-
netsh winsock reset
netsh int ip reset
ipconfig /release
ipconfig /renew
ipconfig /flushdns
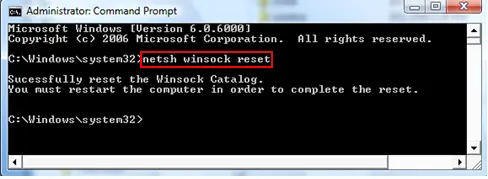
Finally, after the execution of the command, Reboot your System.
Don’t miss out –
6 Ways to Fix Google Chrome has Stopped Working
4 Ways to Fix Faulty Hardware Corrupted Page in Windows 10
Method 6: Run Network Troubleshooter
To make the task easier, one can also run the inbuilt feature of Network Troubleshooter manually and apply the fixes automatically by following the simple steps mentioned below:
1. First, Go to Start Menu. Then, type Troubleshooter in the search bar.
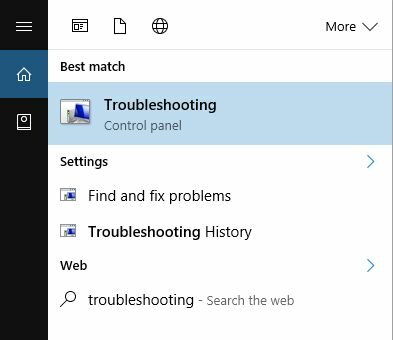
2. From the available list, select Network Troubleshooter.
3. Afterward, open it and select Identify and repair network problems. Also, check for any Network Protocols Missing Errors in your system.
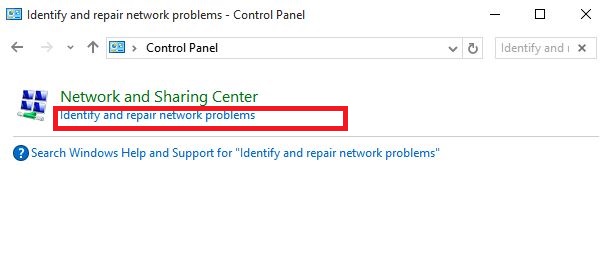
Now follow the steps on the screen and wait for the process to terminate.
Moreover, if the fix applies to the system, Windows 10 Can’t Connect to This Network.
You might also like –
Fix: Display Driver Stopped Responding and has Recovered
6 Ways to Fix Google Chrome has Stopped Working
Method 7: Change the Power Option
The steps given below will help you to choose the power option. On a Battery Saver mode, the system’s performance is not to the fullest. Henceforth, as one of the fixes, it suggests changing the power plan to High Performance.
Step 1- Press the Windows key + S simultaneously to open the Search Bar. Secondly, type Power Options.
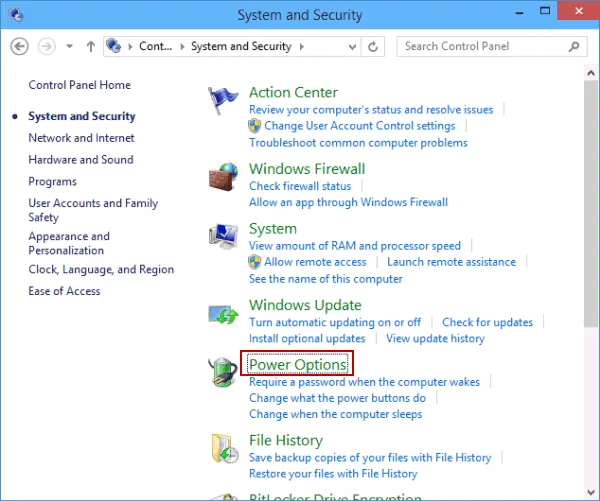
Step 2- See the selected power plan from the Power Options window open.

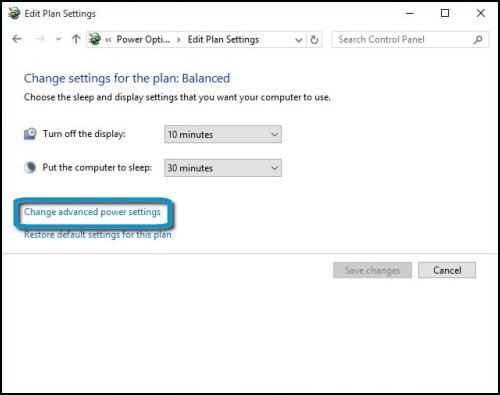
Step 3- Click the Change plan settings. Also, look out for Windows Could Not Automatically Detect Network’s Proxy Settings in the Control Panel before moving.
Later, Click Change Advanced Power Settings.
Step 4- Locate below for the option Wireless Adapter Settings.
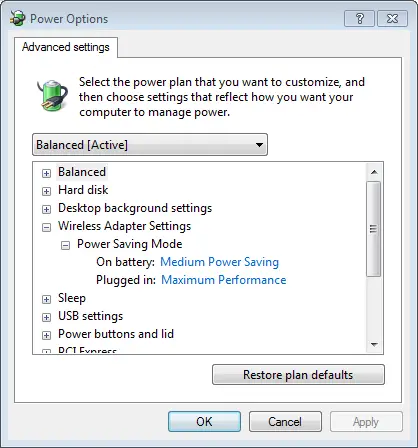
Change the Power Saving Mode to Maximum Performance.
Save the changes applied. Now, check for the issue fix.
Don’t miss out –
2018 Fix: Unidentified Network No Internet Access in Windows 10/8/7
{Solved} One or More Network Protocols are Missing on This Computer
7 Ways to Fix MSVCP100.dll is Missing in Windows 10
Method 8: Installing the driver manually
Sometimes, the errors of Windows 10 Can’t Connect To This Network are caused due to a wrong driver. The resolution to be suggested here is to install the driver manually. Follow the steps given below:
1. First, go to the Start Menu. Secondly. Now, type Control Panel. From the listed item, double-click on Device Manager.
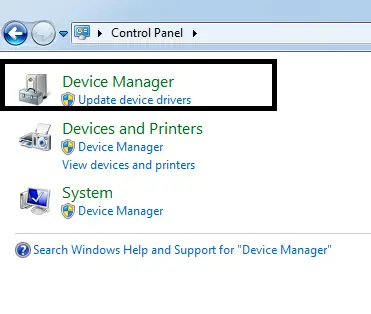
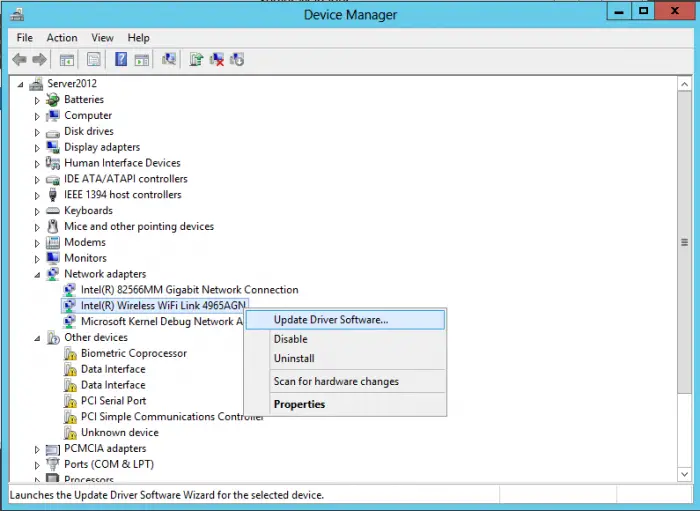
2. Locate the Network Adaptor and Right Click on it.
3. Select the Update Software Driver.
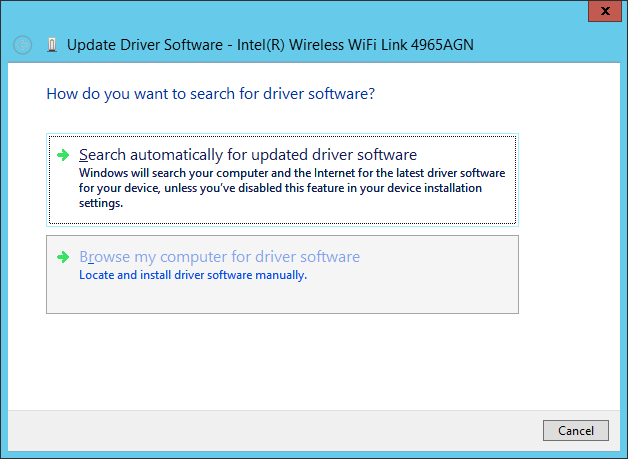
4. Click Browse my computer for driver software.
5. Now, click – Let me pick from a list of device drivers on my computer.
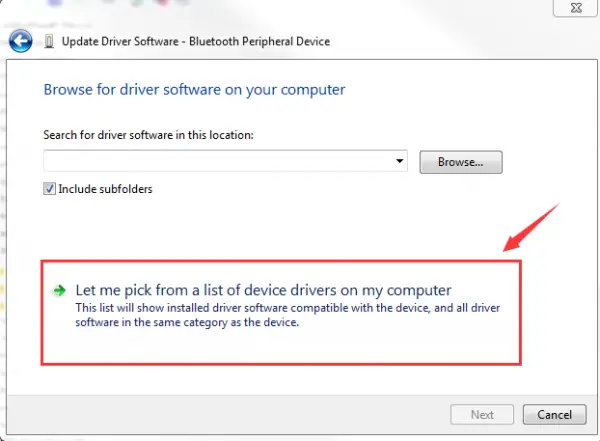
Search for your network adapter manufacturer and select the target driver that we have installed. After the installation, also Restart your computer.
Also, fix –
7 Ways to Fix WiFi Keeps Disconnecting Issue in Windows 10
{Solved} 10 Ways to Fix Windows Error Code 0x80070570
FAQs
Windows may display this message due to incorrect network credentials, driver problems, or signal interference. Troubleshoot by checking your password, updating drivers, or moving closer to the router.
Your WiFi may encounter this issue due to incorrect network settings, signal problems, or a router malfunction. Ensure the network details are correct, try resetting your router, or contact your ISP.
To address this problem in Windows 8, try resetting your modem/router, updating network drivers, or running the built-in troubleshooter through the Control Panel's Network and Sharing Center.
How do I fix network connection failure?
Network connection failures can result from various factors. Start by rebooting your router, checking cables and settings, and running network troubleshooters on your device. If issues persist, consult your ISP or a technician.
Conclusion
The above methods are some of the best fixes that have been applied to resolve the reader’s problem. Windows 10 encounters many related issues like this, but the fixes are available.

Gravit Sinha: Founder of ValidEdge, a problem-solving website, driven by his lifelong passion for fixing issues.