After updating to Windows 10, many users claim that File Explorer not working or loading infinitely with the message displayed as “File Explorer not responding.” This Windows 10 File Explorer error won’t prevent users from accessing doc files, photos, apps, etc. unless they keep the names of files and search them in mind. When File Explorer freezes or crashes in Windows 10, it is a critical issue as it has almost all user data.
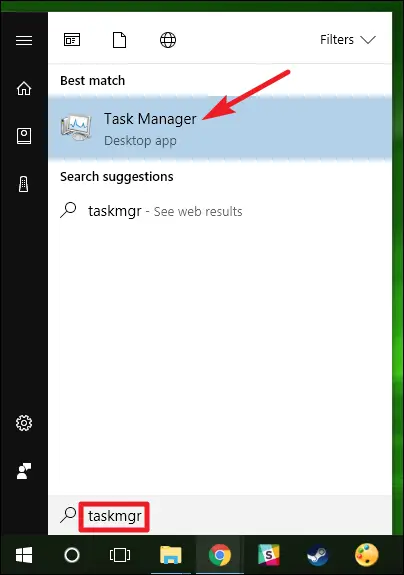
Imagine the Windows operating system where you can’t access files and folders. What is the use of such a system? And how annoying it is if you get trapped in this issue of Windows 10, File Explorer won’t open! Press Ctrl + Shift + Esc to open Task Manager. In the Processes tab, locate Windows Explorer. Right-click and select Restart.

Sometimes, when you launch File Explorer to open any file or folder from the taskbar, it doesn’t display the Windows. This problem of Windows 10 File Explorer not Responding frequently happens nowadays. The main reason behind this problem is the startup programs clashing with Windows 10 File Explorer. Other issues include File Explorer cache problems, Windows search clashing, Scaling Slider issues, etc. All of these issues depend upon the user’s system configuration.
See Also: System Service Exception Error
How to Fix Windows 10 File Explorer Won’t Open
It often doesn’t show the option when the user tries to launch File Explorer to view some files. When the user tries to open the File Explorer icon, it displays the error message. So, here are some practical solutions for you to get out of this issue:
Solution 1: Clear the history cache and create a new shortcut
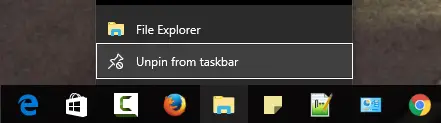
1. Right-click on the File Explorer icon from the taskbar and select “Unpin from the taskbar.”
2. Press the “Windows key” along with “X” to choose “File Explorer.” 
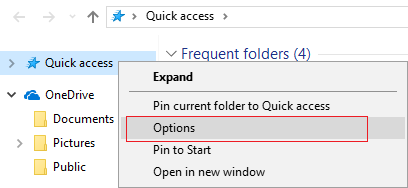
3. Right-click on “Quick access” and choose “Options.”
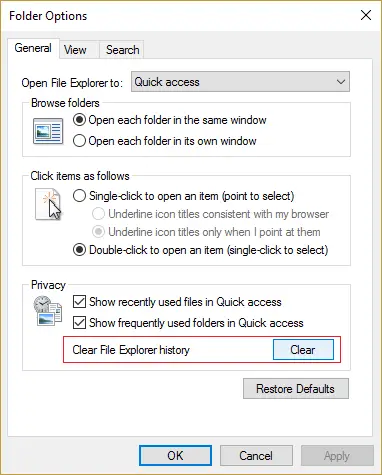
4. Then Select “clear” from the “privacy” option, which is located at the bottom.
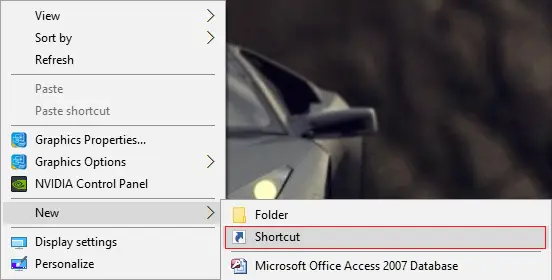
5. Right-click on the blank area and select New>>Shortcut.
6. Write the following address:
C:\Windows\explorer.exe.

7. Click on “Next” and rename the file.
8. Then Click “Finish.”
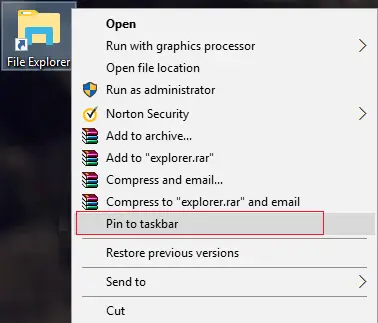
9. Right-click on “File Explorer shortcut” and select “Pin to taskbar.”
10. If you cannot access the File Explorer, go to the next step.
11. Go to “Control Panel” and choose “Appearance and Personalization.”
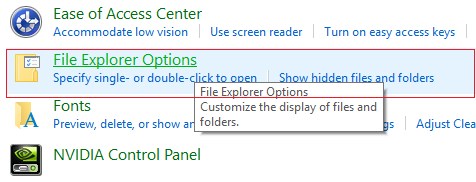
12. Within this option, select “File Explorer options.”
13. Under privacy, select “clear File Explorer history.” Hope this will Resolve the Windows 10 File Explorer Not Working issue. Also, look out for any Windows 10 Search Not Finding Files Error.
See Also: You Must Have Read Permissions To View The Properties Of This Object [FIXED]
Solution 2: Restart File Explorer in task manager
If your Windows 10 file explorer won’t open, you might try this second solution.
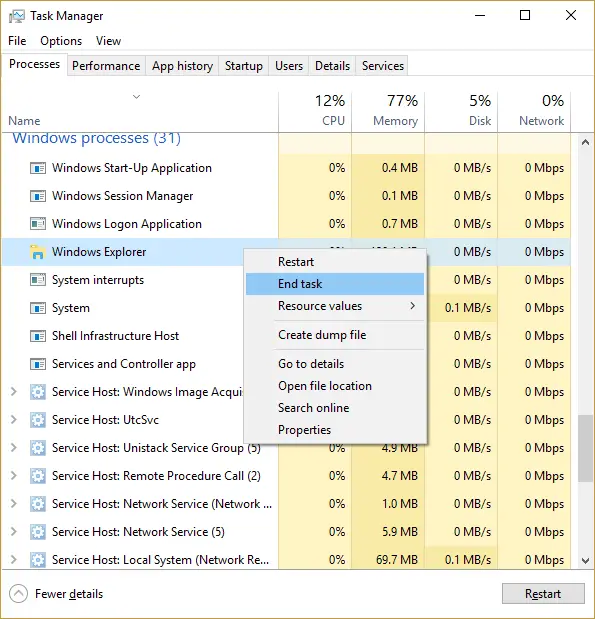
1. Press “Ctrl+Shift+Esc” to open the “Task Manager.” 
2. Choose “Windows Explorer” and right-click on it to select “End task.”
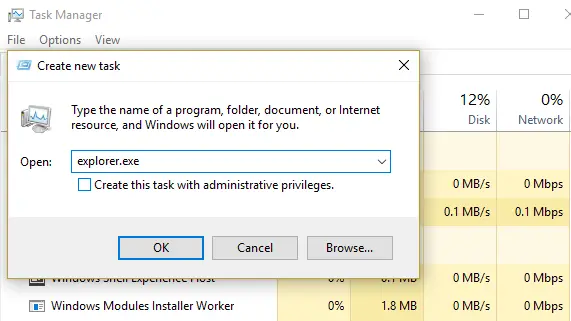
3. Then Click the “File” option located on top of the task manager window.
4. Select “Run new task,” write “explorer.exe” and hit Enter.
See Also –
8 Ways to Fix the Default Gateway is Not Available
3 Ways to Fix Windows Update 0x80070422 Error
10 Ways to Fix Steam Stuck on Preparing to Launch
Solution 3: Set File Explorer Defaults
If your Windows 10 file explorer won’t open, you might try this third solution.
1. From the “start menu,” open the “File Explorer options.”
2. From the “general tab,” clear the file explorer history and choose “restore defaults.”
3. Within the “View” tab, select “Reset folders” and “Restore Defaults.”
4. Under the “Search” tab, select “Restore Defaults.” 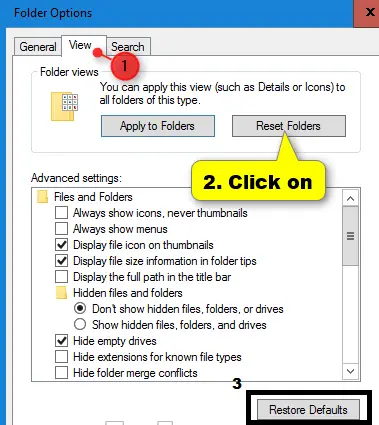
5. Press “Apply,” then “OK,” then “Exit.”
See Also: 10 Best File Manager For Windows 10/11 In 2023
Solution 4: Disable Windows Search
If your Windows 10 file explorer won’t open, you might try this fourth solution.
1. At First, Press the “Windows key” along with “R” and type “services.msc” then hit Enter.
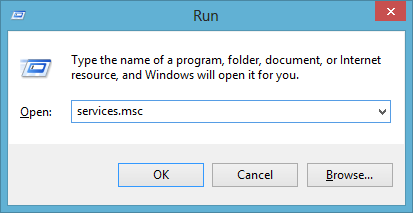
2. From the given list, find “Windows Search” and right-click on it to select “Properties.”

3. Then change the “startup type” to “Disabled.”
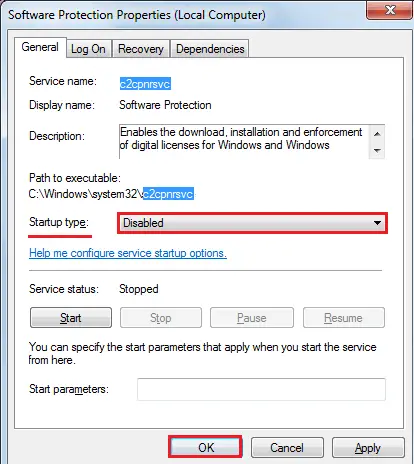
4. Finally, Select “Apply” then “OK.”
See Also –
5 Ways to Fix Your Windows License Will Expire Soon Error
4 Ways to Fix Kmode Exception Not Handled in Windows Error
Solution 5: Change display settings
You might try this solution when your Windows 10 file explorer won’t open.
1. From the “start menu,” choose “settings.”
2. Go to “System,” and the display tab will be selected automatically. 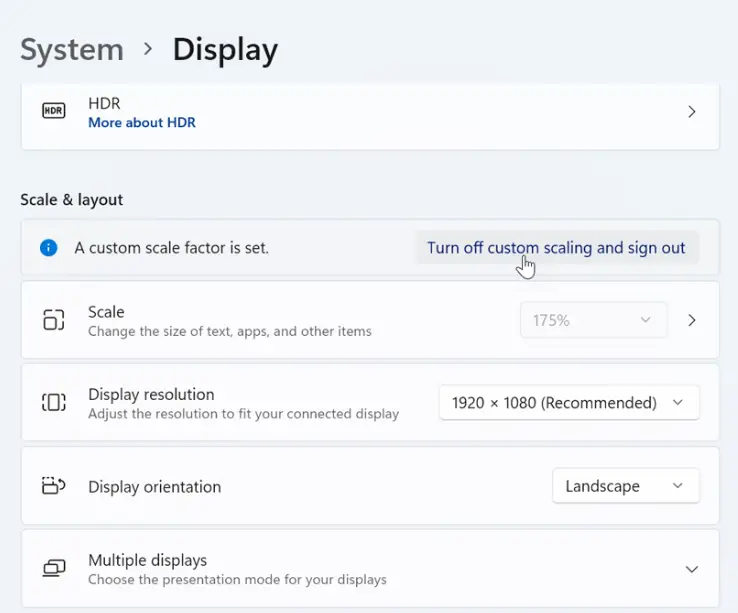
3. Adjust the size of your Display panel.
Solution 6: Run System File Checker and Check Disk
You might try this solution when your Windows 10 file explorer won’t open.
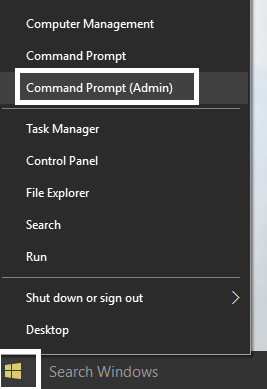
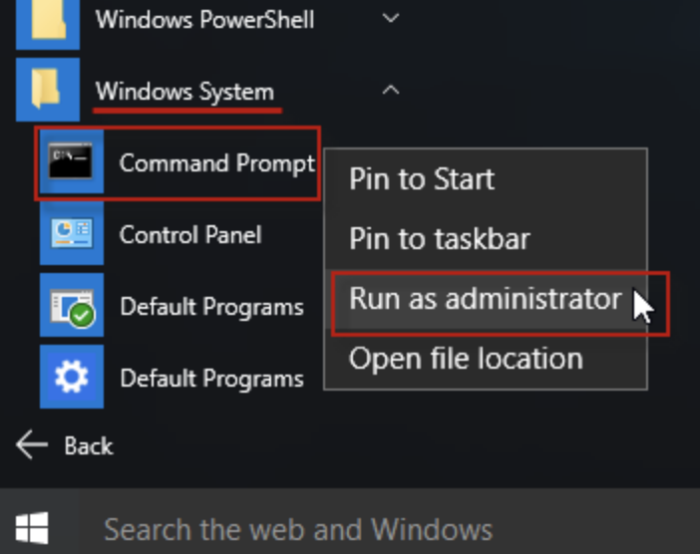
1. At First, Press the “Windows key” along with “X” then select “Command prompt.”
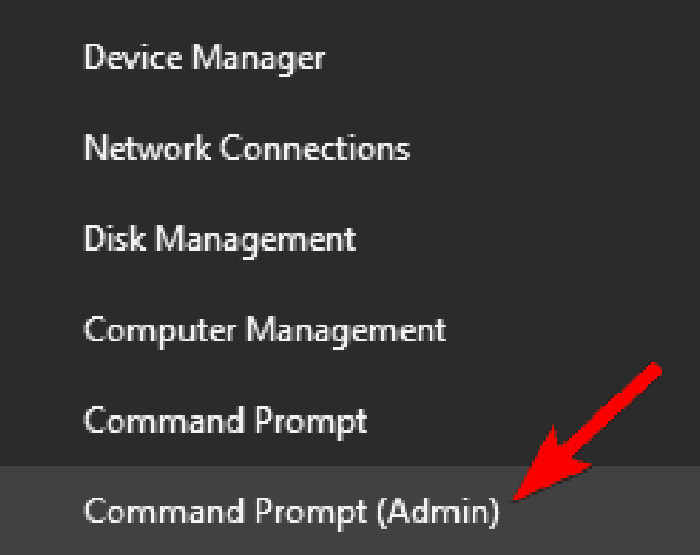
2. Then type the following command in the command prompt-
Sfc /scannow
Sfc/scannow/offbootdir=c:\/offwindir=c:\windows
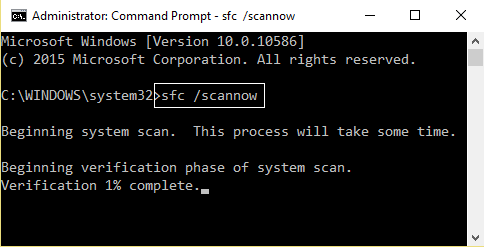
3. Wait for the process to finish.
4. To run Check Disk Utility, go to “Windows Explorer” and right-click the drive you want to run.
5. Then choose “properties” and select “tools.”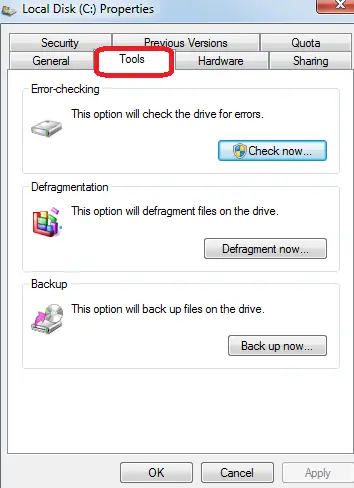
6. Within “Error checking,” select “Check button.”
See Also –
4 Ways to Fix Application Error 0xc0000005
{Solved} 6 Ways to Fix Network Adapter Missing Issue
Solution 7: Disable startup items
You might try this solution when your Windows 10 file explorer won’t open.
1. Press “Ctrl+Shift+Esc” to open the “Task Manager.”
2. Go to “Startup tab” and select “Disable.”

3. You have to select all the services one by one only.
4. Reboot your system.
See Also –
{Solved} Potential Windows Update Database Error Detected
Fix Windows Could Not Automatically Detect Network’s Proxy Settings
5 Ways to Fix DNS Server Not Responding Error in Windows
Solution 8: run “netsh” and “Winsock” reset
1. At First, Press “Windows key” along with “X” and select “Command prompt.”
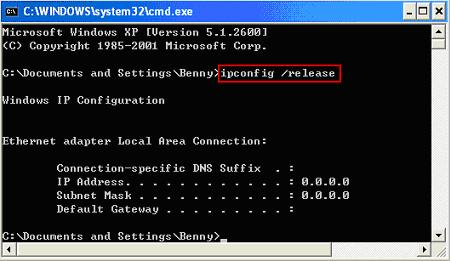
2. Then type the following command in the command prompt-
ipconfig/flushdns
nbtstat –r
netsh int ip reset
netsh Winsock reset
3. Check if the problem is resolved or not; otherwise, go through other options.
Solution 9: Run Deployment Image Servicing and Management (DISM)
1. Press “Windows key” along with “X” and select “Command prompt.”
2. Write the following command in the command prompt-
3. DISM.exe / Online /Cleanup-Image / RestoreHealth /Sour and hit Enter.
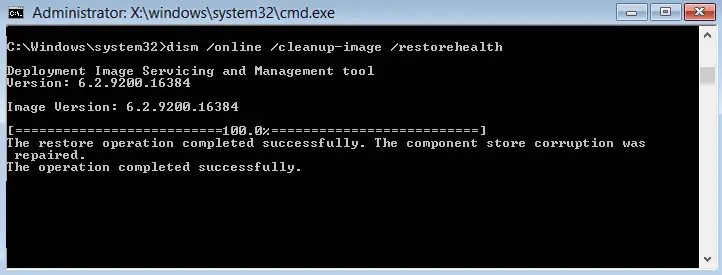
4. Wait for some time for the above process to be completed.
5. Now, write the following command in the command prompt then hit Enter sfc/scannow.
6. The system file checker will run after you enter the above command.
7. Restart your PC.
Solution 10: Reset Apps to Microsoft default
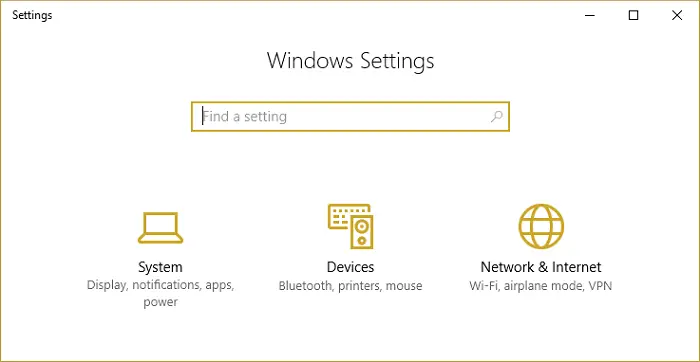
1. At First, Press the “Windows key” along with “I” to open the “Windows settings.”
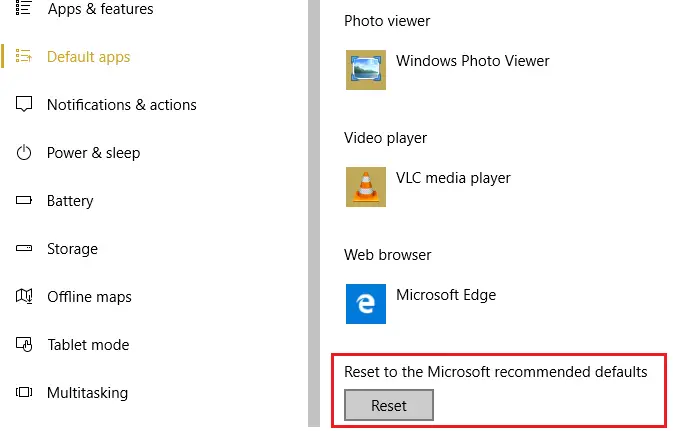
2. Choose “System” and go to “Default apps.”
3. Scroll down and choose “Reset to Microsoft recommended defaults.”
4. Reboot your system.
See Also –
3 Ways to Fix Windows Update Service Not Running
10 Ways to Fix Windows 10 Update Error Code 0x8024a105
4 Ways to Fix VLC Does Not Support UNDF Format
Also, you can update your PC to resolve this issue. To check whether your Windows is up to date, follow the below-given steps:
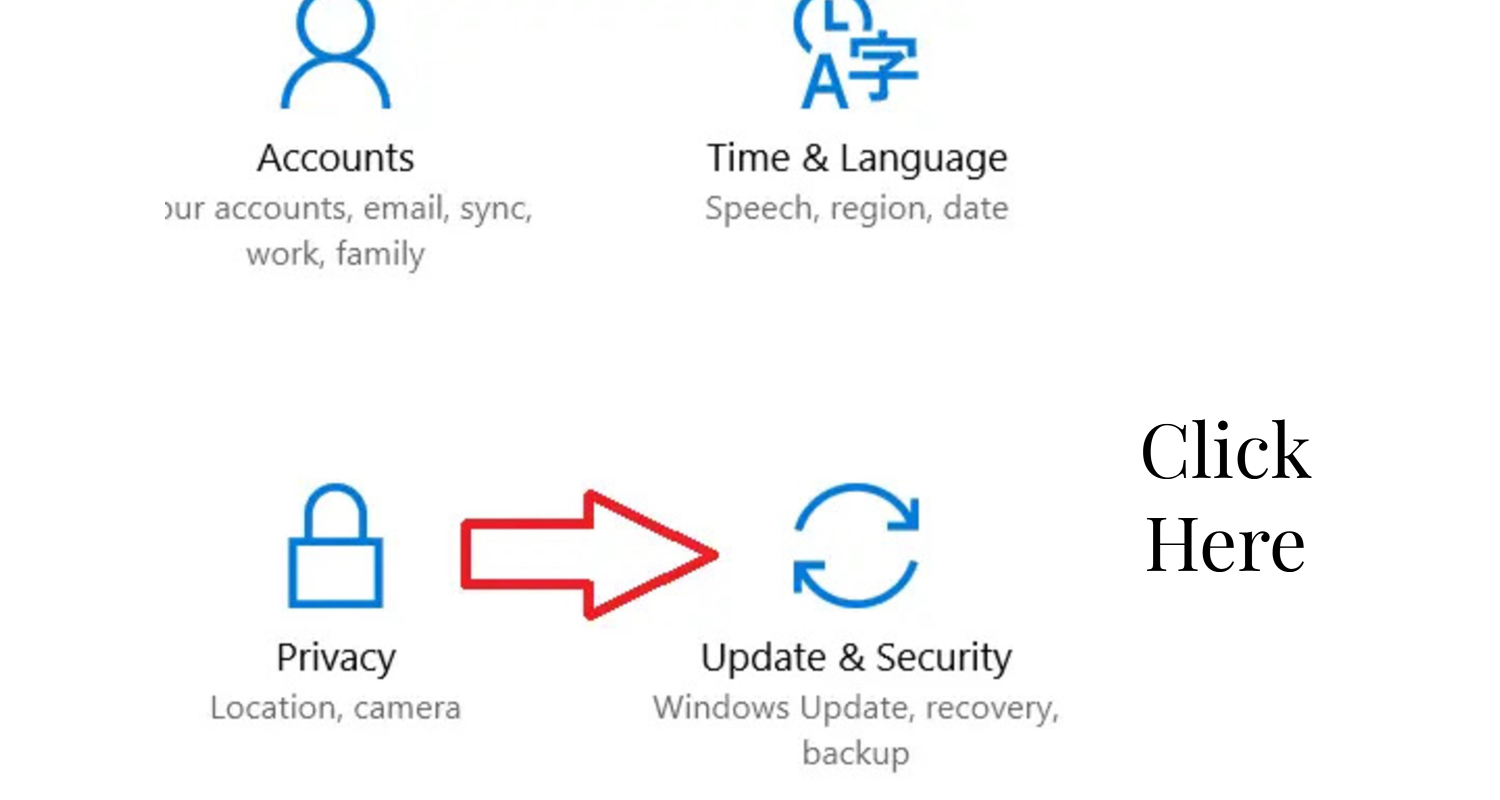
1. First, Press the “Windows key” along with “I” and choose “Update and security.”
2. Select “check for updates” and if there is any pending update, make sure to install it.

3. Reboot your system after the updates are installed.
See Also: Quick Fix: Why Can’t I See Other Computers On My Network Windows 10
FAQs
How do I fix File Explorer not opening in Windows 10?
Answer- For resolving the issue of File Explorer not launching in Windows 10, attempt the following actions: Reboot your computer. Execute the System File Checker tool (sfc /scannow) within the Command Prompt. Restart Windows Explorer through Task Manager Update Windows Check for malware Create a new user account if needed Consider performing a system restore.
How do I force start File Explorer?
Answer- To restart File Explorer, follow these steps: Click on the taskbar on the screen> Task Manager> Find Windows Explorer> Restart> Select File and Run new task> enter Explorer.exe.
Why is my folder not opening in Windows 10?
Answer- Folders might not open in Windows 10 for various reasons: corrupted system files, software conflicts, malware, or a user profile issue. Try restarting your computer, scanning for malware, running a system file check (sfc /scannow), or creating a new user account.
How do I fix Explorer EXE in Windows 10?
Answer- To fix Explorer EXE in Windows 10, try these steps: 1: Restart File Explorer. 2: Adjust Virtual Memory Size. 3: Deactivate Fast Startup. 4: Execute SFC/DISM. 5: Perform CheckDisk. 6: Update Microsoft .NET Framework. 7: Utilize Windows Memory Diagnostic Tool. 8: Scan the PC for Malware.

Gravit Sinha: Founder of ValidEdge, a problem-solving website, driven by his lifelong passion for fixing issues.