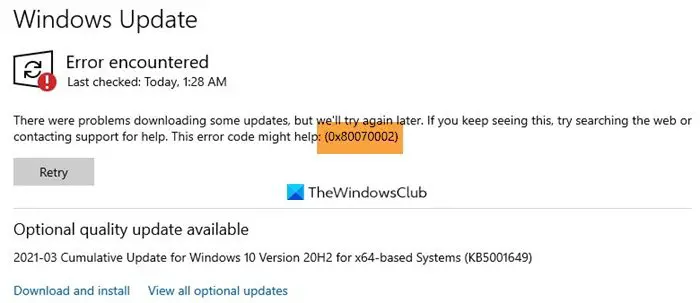
The Windows Update error 0x80070002 is one of the prevalent issues when dealing with Windows. However, it’s not a big deal owing to the many methods available to kick the issue into the dumpster.
Methods to Fix Windows Update Error 0x80070002:

- Method 1: Update Your Date and Time Settings
- Method 2: Windows Update Troubleshooter
- Method 3: Registry Editor Modification
- Method 4: Update Device Drivers
- Method 5: Windows Update Files Modification
If you are facing a problem processing your media file, click here!
What causes the 0x80070002 error?
This Windows update error, in most cases, mainly arises because of some missing file in the Windows Update that makes your Operating System show a prompt displaying the error. In different versions of Windows, the error code can manifest itself in different styles.
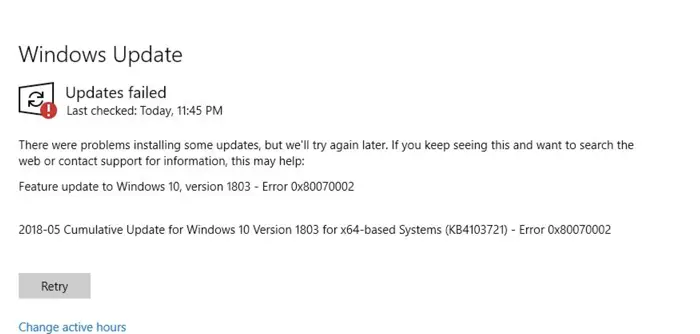
For Example – In Windows 7.0/8/10, you may get this message, “Error(s) found: Code 80070002 Windows Update encountered an unknown problem.”
In Windows XP, you may get the error message “A problem is preventing Windows from accurately checking the license for this computer. Error code: 0x80070002.”
Although the error message seems slightly different, the error is the same, mainly involving some unfinished process or unsuccessfully downloaded Windows update files.
Now, let’s look at some more reasons which can also be held responsible for displaying the 0x80070002 error message in your Operating system.
Reasons why Error 0x80070002 can occur?
- Incorrect Date and Time of the system: – Your system clock may not be in sync with the current time specified in your latitude and longitude, which might lead to the issue.
- Incomplete Windows Update Service on your computer: – Sometimes, due to various reasons, the Windows update process gets halted, and this results in some critical files not being downloaded and installed on your system. This might affect the functionality of your system in various ways, including the Windows throwing the error of 0x80070002, etc., depending upon your version of Windows.
- Corrupt System Files/ Registry: – This might also be the reason for the issue. System files get corrupted for various reasons, including the download of a hidden virus and specific software.This virus may corrupt system files very covertly, which may be responsible for generating the error code 0x80070002.
- Unsteady Internet Connection: – This issue comes when your bandwidth link keeps fluctuating at the time of your system update.This makes Windows skip downloading some critical data files due to the intermittent internet and thus leads to the above error.
- OS installed on an un-active disk partition: – Although a less common reason, this might also be responsible for the error code 0x80070002.If Your Windows is installed on any Drive other than C:// and isn’t active, then the computer might be forced to throw the error.
How to Fix Windows Update Error 0x80070002
Having stated the reasons, let’s look at the solution to the above problem.
Method 1: Update Your Date and Time Settings
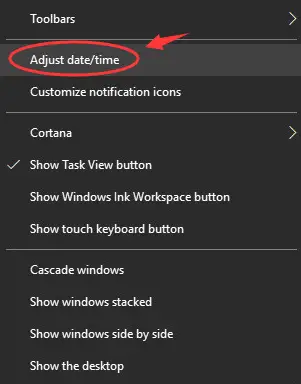
1. At First, right-click on the Date and Time being displayed in the lower right corner of your screen in the Windows Taskbar.
2. Then Click on Adjust date/time.
3. Enable both the options over there, i.e., Set time automatically & Set time zone automatically.
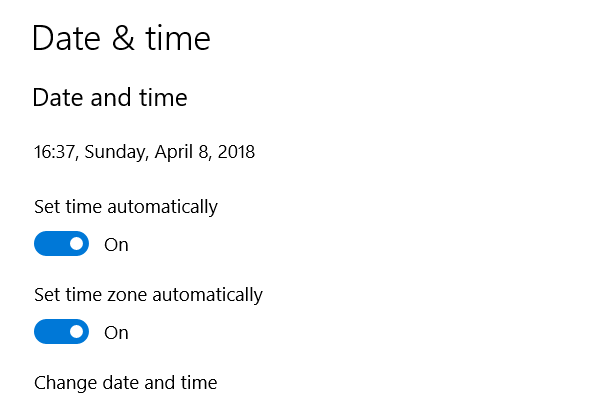
4. Then this will adjust both Date & Time automatically.
5. Afterward, restart your system and try the Windows Update again.
Hopefully, the issue will have been resolved. If not, try the following steps and see if they work.
Solve other Errors too –
5 Ways to Fix Your Windows License Will Expire Soon Error
{Solved} How to Fix Spotify Error Code 18: Unable to Install
4 Ways to Fix Kmode Exception Not Handled in Windows Error
3 Ways to Fix Windows Update Service Not Running
Method 2: Windows Update Troubleshooter
1. At First, download the troubleshooter for your respective version of Windows if you do not have it. Here is the link.
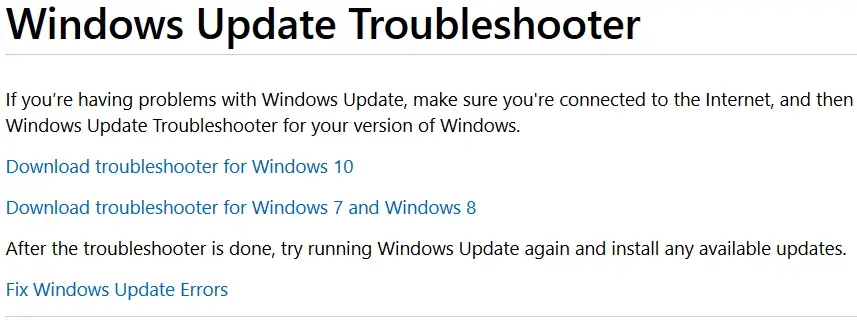
2. Then run the downloaded File.
3. In the dialog box following the installation, afterward, click on Windows Update and then click Next.
4. The troubleshooter will run a primary update file scan and try to sniff and rectify the problem.
5. After completing the process, restart your computer and try Windows Update again to see if it works.
Check Out: 5 Ways to Fix DNS Server Not Responding Error in Windows
Method 3: Registry Editor Modification
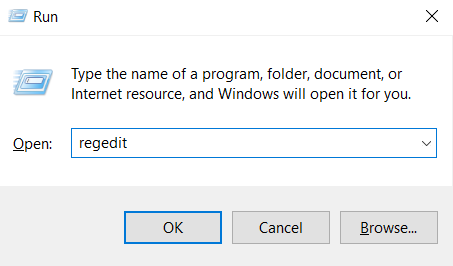
1. First, open the Run terminal by pressing Win + R.

2. Then type “regedit” and click OK.
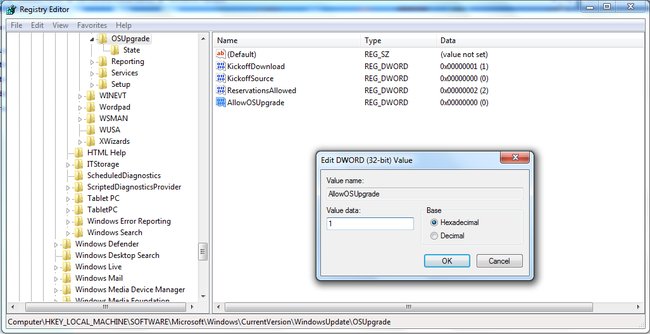
3. Navigate to the following path HKEY_LOCAL_MACHINE > Software > Microsoft > Windows > CurrentVersion > WindowsUpdate > OSUpgrade in Registry editor.
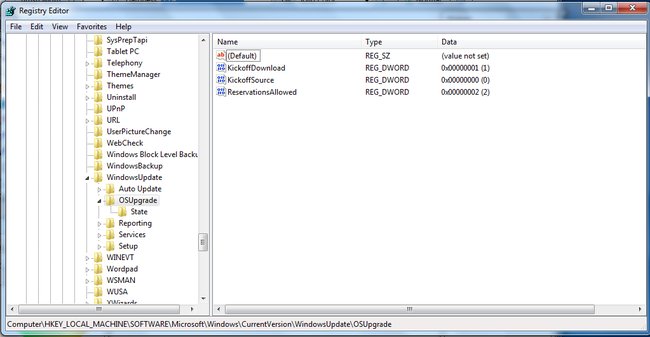
4. Afterward, click on the OSUpgrade button.
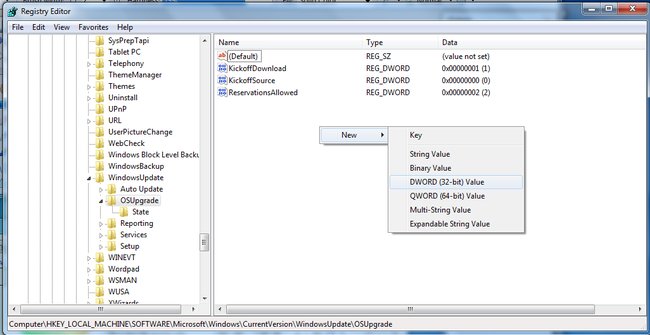
5. Then right-click in a space and then click on New.
6. click on DWORD (32-bit) Value from the drop-down that appears.
7. A NewValue#1 will be created. Then right-click on it and then select Modify.
8. An Edit DWORD dialog box will appear.
9. Then type “AllowOSUpgrade” in the Value name & set the value data as 1.
10. Select the base as Hexadecimal and then click on OK.
11. Restart your computer and see if the issue has been resolved.
Method 4: Update Device Drivers
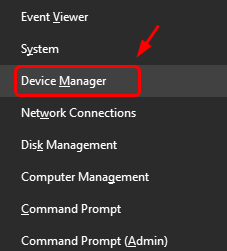
1. At First, press Windows Key & X together. Then select Device Manager from the list shown.
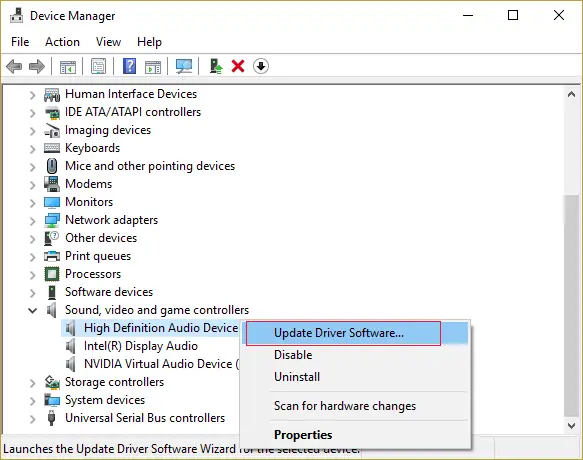
2. After opening the Device Manager, you will see a list of devices.
3. To update any device, just right-click on it, and click on Update Driver Software from the drop-down that appears,
4. You can also download and install software available on the internet that detects any non-updated driver.
Method 5: Windows Update Files Modification
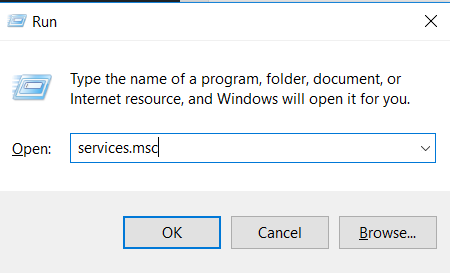
1. First, open the Run terminal by pressing Win + R.
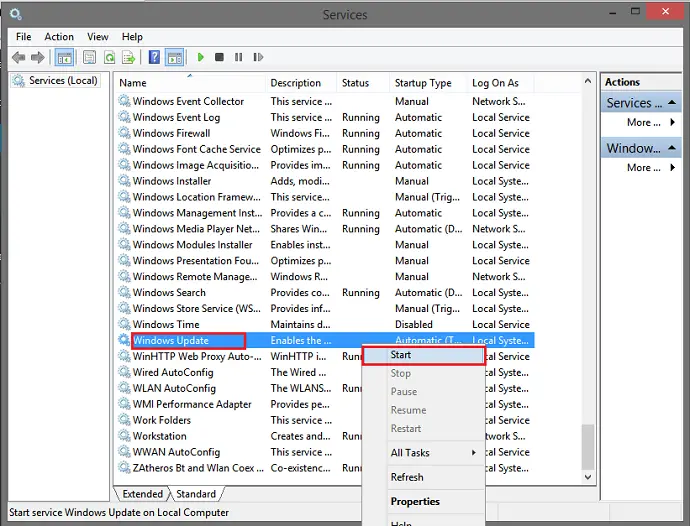
2. Then type “services. msc” and click OK.
3. Afterward, locate Windows Update from the list of services and double-click on it.
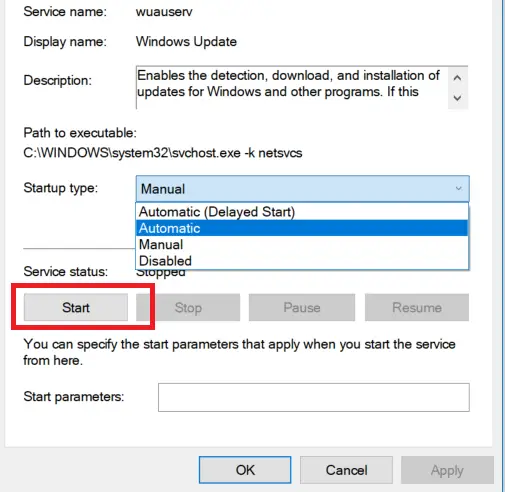
4. The Windows Update Properties dialog box will open up.
5. Change the Startup Type to Automatic and click on Start below services if the Service Status reads as Stopped. Then click on Apply, followed by OK.
6. Afterward, return to the drive where your windows are installed. (Generally, it is the C drive)
7. Go to Windows > Software Distribution.

8. Then delete or Rename the folder named SoftwareDistribution.
9. Close all the opened panes.
10. Return to the Services dialog box you opened using the Run command.
11. Locate the Windows Update Service and right-click on it.
12. Then click on Start.
13. Finally, restart your Windows and try the Windows Update again.
By following the above few steps, you might be able to resolve the displaying of error code 0x80070002/80070002.
You may also like –
{Solved} How to Fix Windows Update Error Code 0x80004005
10 Ways to Fix DNS_Probe_Finished_No_Internet in Chrome
FAQs
How can I fix the 0x80070002 error with the Windows 10 update?
The 0x80070002 error usually denotes a problem with missing or corrupt data, even after Windows 10 has been upgraded. Try the following procedures to fix this: Run the Windows Update Troubleshooter to find and fix problems swiftly. Data from the 'SoftwareDistribution' folder disappears because the files are corrupt. Consider executing an in-place upgrade using the Media Creation Tool to correct system files and fix the update issue if the problem continues.
How can I resolve the 0x80070002 Microsoft Store error?
An array of troubleshooting techniques is likely used for fixing the 0x80070002 error in the Microsoft Store. You can first clear the Microsoft Store cache by typing 'wsreset' into the Run dialog. Verify the accuracy of your system's date and time settings, as inaccuracies can lead to this error. Check if Windows is up-to-date, and run a clean boot to see if a third-party program is the problem.
Why does 0x80070002 occur?
The 0x80070002 error frequently manifests in Windows systems and is frequently connected to problems with missing files, corrupted files, or improper paths. This error code may appear while carrying out numerous tasks, such as updating Windows or using a certain application. It frequently indicates a problem with the system's capacity to find or access the files needed for the current task, which is what causes the error message.
Error number 0x80070002 in Software Center: What does it mean?
Error number 0x80070002 in the application Center is usually presented when the system cannot locate or access the files necessary to complete a certain program installation or update. Corrupted files, wrong file paths, and network connectivity issues are just a few possible causes of this error. Troubleshooting the underlying causes of this problem may entail confirming network connections, searching for faulty files, or fixing system components.
Conclusion
These were some of the few shortlisted ways to help you resolve the Windows Update 0x80070002 error code problem.
From the feedback from most users experiencing the above issue, the success rate of fixing it by the above steps can be attributed to around 80%.
I hope these steps prove worth your time. If you continue to face errors despite following all the steps, don’t hesitate to contact the Windows Support Teams. Until then, stay updated and stay ahead.

Gravit Sinha: Founder of ValidEdge, a problem-solving website, driven by his lifelong passion for fixing issues.