Fortunately for all Mac users, downloading and installing fonts on Mac is relatively easy. But sometimes, font not appearing in Word Mac is a common issue among users. However, more and more users find Common Problems with MacBook Pro or MacBook Air.
To fix the issue, restart your computer before testing the font again. Some installs require a restart, ensuring all programs are resumed after installation.

- Download the font files.
- In case the font files are compressed in a zip folder, extract them by right-clicking the .zip folder and selecting the Extract option.
- To install your preferred fonts, right-click on them, and choose the Install option.
- If you receive a prompt requesting permission for the program to make changes to your computer, and you have confidence in the font source, grant permission by clicking Yes.
The fascination for fonts has played a predominant role in the life of designers, and they want an extensive range of fonts to use. But at the same time, the downloaded font not showing up in Word Mac; we can solve this right here. Let’s jump into solutions.
Install Fonts On Your Mac
If you need to install fonts on your Mac, follow the steps below.
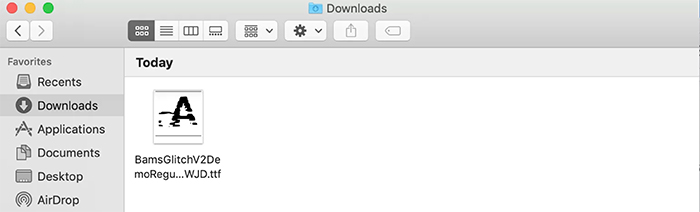
Open Finder and locate the folder where your new font has been downloaded. Please find the file ending with .ttf, .ttc, and .otf. Double-click to open it in the folder. A window will pop out, and then click install font. This will automatically open the file in your font book.
You can also find fonts on Mac and try fixing the font not showing up in word mac and how to use fonts downloaded from the internet Mac.
Install Fonts On All Accounts On Your Mac
Suppose there is not only one account on your Mac, and you wish to apply the downloaded on all the accounts. You will have to follow extra steps.
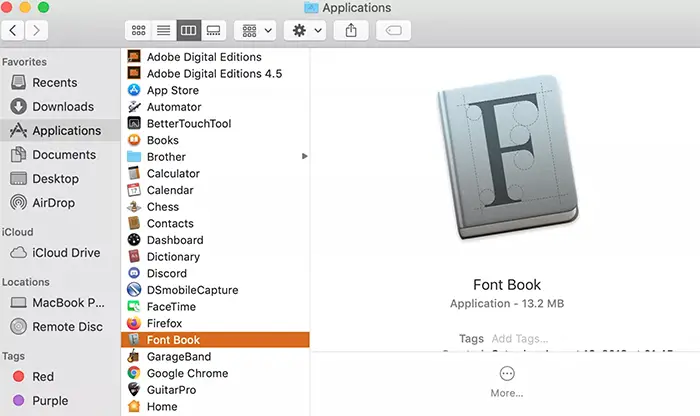
- Open Finder Search for the Font book and launch it.
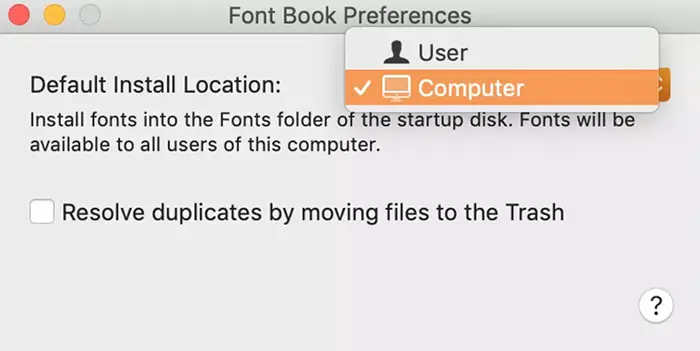
- At the top corner, click on the app bar and choose Font Book> Preferences.

- Use a drop-down to change the location from user to computer.
Find and open the desired folder that contains the new font to add. Double-click the folder ending with .ttf, .ttc, and .otf in this folder. On the font book pop-up, click on the install font button.
This is how to use installed fonts on Mac.
See Also: Fix: Mac Won’t Start in Safe Mode? [Complete Guide]
Install Fonts For All Network Users
To download and install fonts for everyone on your network, you must be a network administrator or ask someone to do it for you.
As the admin of the network, you should follow the below steps.
- You should copy the desired files you want to install on your network users.
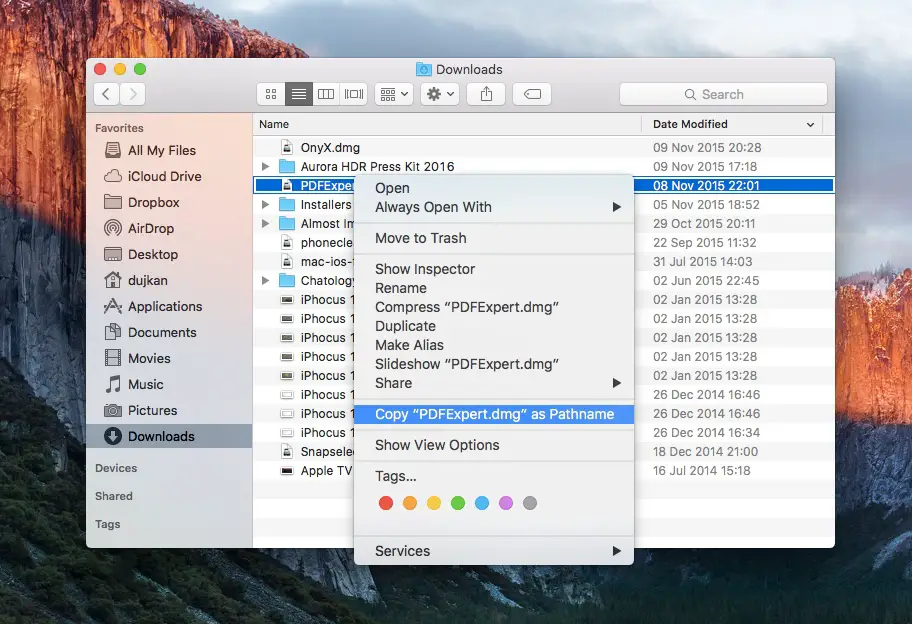
- Open the finder and click on the Go Section in the upper menu.
- Choose to go to Finder from the drop-down menu of the list.
- Type Network/Library/Fonts in the pop-up window and press go.
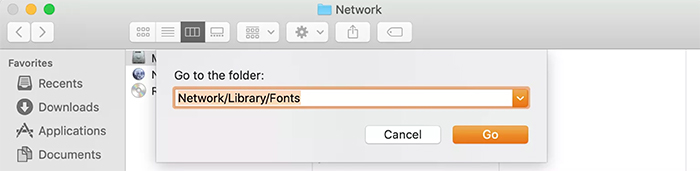
- Paste the font files into this folder.
How To Install Fonts On The Mac Manually
You don’t necessarily have to have a font book application to install fonts on your Mac. Copying the desired files to Library/fonts can also be done quickly.
Starting from OS X 10.7, the Library folder and its subfolders have been hidden from the user’s sight. Therefore, you’ll need some extra effort and work to locate it:
Firstly, Open Finder and click on the Go section in the upper menu. Secondly, Select Go to Folder in the drop-down menu.
And then, Type ~/Library/Fonts in the pop-up window and click Go. After doing that, the Fonts folder will show up. Copy, paste, and drag and drop all the unzipped font files to the Fonts folder.
You can fix the font not showing up in Word on Mac and learn how to use downloaded fonts on Mac.
How To Add Fonts To Microsoft Word On Mac
Adding fonts on the Mac Book to Word differs from adding them to Windows. So follow the steps carefully. By this, the font not appearing in word mac can be rectified.
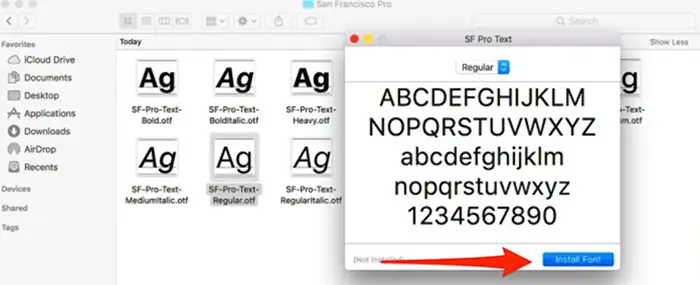
- Firstly, download the desired font on your Mac book. Using the font book will make it easier for you to install the fonts. Look for the font file you want to add to Microsoft Word once the Font Book is installed. Open it in the font preview window on your device.
- Once you’ve finalized the font, click the Install Font button under the bottom of the font preview window. Click on it, and send the font to the Font Book software. This way, the font will be saved on your MacBook.
- You’ll find a Windows Office Compatible field on the left side of the Font Book software. Add the installed font here.
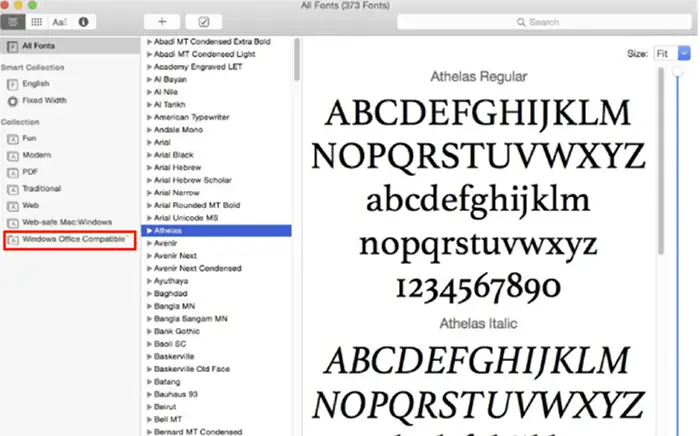
- Once the font is added to the Windows Office Compatible field in Font Book, all that’s left for you to do is restart your device. And by this, you can also find downloaded font not showing up in word mac. There are also many YouTube Downloaders available for Mac.
Note: If Word is already active while installing the font, the changes won’t be applied, so you won’t see the new font on the current list. In this case, you’ll restart Word Online, after which the new font will be added to the selection.
How To Preview Fonts On A Mac
With enormous Mac fonts available, choosing the right one for your work or school project is tough. That’s when font preview comes in to be efficient to use.
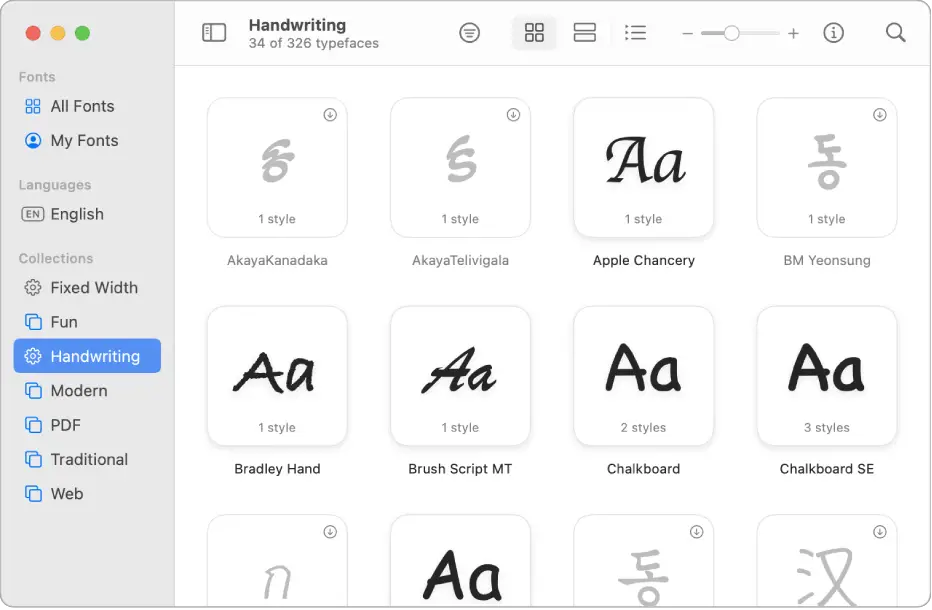
Using the Font Book app is the best way to see the installed fonts on your Mac:
- Firstly, Go to the Finder → Applications → Font Book or use the Spotlight to search and run the Font Book Application.
- Click on the font you want to preview (fonts are listed in the center column of the window).
- A preview will pop up on the right side of the window.
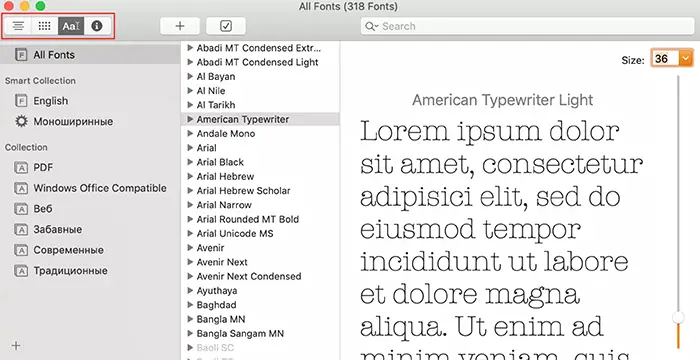
- Click lines, grid, or letter-like buttons at the window’s top left corner to switch between preview modes.
How To Disable And Remove Fonts On Mac
Having a good and comprehensive set of fonts for Mac offers an extensive list of options. However, choosing the right one with too many gets tough and more time-consuming. Plus, it clutters your computer.
Knowing how to manage the desired fonts on a Mac effectively is just as important as installing them. We suggest you disable or remove the fonts you don’t use to eradicate system clutter.
Deleting fonts means removing them entirely from your Mac. You have to reinstall the fonts if you removed the font and then again.
To remove the fonts on Mac, follow the steps below:
- Launch Font Book Application. Secondly, Pick the fonts that you want to delete.
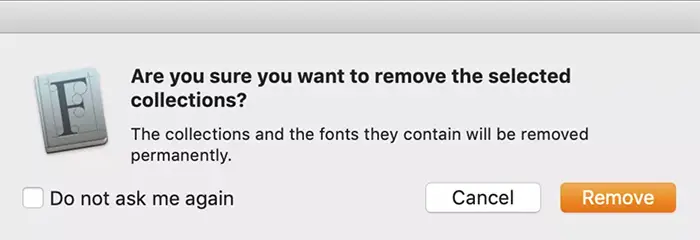
- And then, after selecting, Press the Delete key. After that, Click on Remove in the pop-up window.
On the other side, disabling fonts on a Mac means they’ll remain in your system, but they will no longer be listed in apps or the Fonts windows.
To disable fonts on Mac, do this:
- Launch Font Book. Secondly, Pick the font/fonts you want to disable
- Search and find the Disable button at the top and click on it. Click Disable on a pop-up window.
By the above methods, font not showing up in word mac can be solved.
FAQ’s
What are the best Mac fonts for developers and designers?
The best Mac fonts for developers are those you can easily read and understand. It is vital . The best monospaced Mac fonts are listed below Monaco, Courier, Menlo, and Osaka.
Do I need to restart after installing fonts on Mac?
Start the FontBook app (Applications/Utilities) and Add Font to install fonts. In the File menu. This will activate the new fonts; you can use them immediately without rebooting. This procedure is helpful if you want to install several fonts simultaneously.
Where and how to download fonts on a Mac?
Before downloading and installing fonts on a Mac, you'll need to search and download them first. Most of the online sources offer free open-source fonts. But some are truly rare and incredible and may cost you a little money. Here is the list of font sources that most of the design team uses. MyFonts, Google Fonts,and Font Squirrel.
Conclusion
In conclusion, in this article, the font is not showing up in Word on Mac, and find fonts on Mac. All of the queries have been clarified. Refer to the steps above and quickly add the fonts to your Word and Mac.
See Also: How To Fix Microsoft Outlook 2010 Only Opening In Safe Mode?

Matt Brown: Senior editor with expertise in consumer tech, gaming, Xbox, and Windows PCs. Follow him on Twitter @mattjbrown for the latest updates.