On days when you are working on some presentation or attending a webinar, it may happen that the home network suddenly disappears. Many users have complained about not seeing my WiFi network on Windows 10. It causes a lot of inconvenience and can be a big problem. If you are experiencing the “Can’t See My Wifi Network on Windows 10” issue, there are several steps you can take to solve the problem.
Firstly, update your Wi-Fi drivers. Secondly, run Command Prompt and check the network settings. Thirdly, try turning on the WLAN AutoConfig or enabling the Wi-Fi Service. To troubleshoot network issues, press the Windows logo key and type “network troubleshooter”. From the search results, select “Identify and repair network problems” to automatically detect and fix any issues with your PC’s network.

The Wi-Fi network doesn’t show up despite trying for a long time. Frustrating right? Yes, it can be, but here are some of the best solutions to fix the issue.
See Also: Steam Image Failed To Upload: How To Fix It?
What Causes Windows 10 Wi-Fi Not Showing Up
Before getting into the methods to fix the problem, let’s talk about the causes. It may happen due to: 
- Incorrect Wi-Fi configuration of the router and the computer
- WIFI’s internal problem
- Difficulty in connecting with the PC
- There might be missing or outdated drivers
See also: 7 Ways to Fix WiFi Keeps Disconnecting Issue in Windows 10
Solutions for Wi-Fi Network Not Showing Up Windows 10 and Can’t See My Wi-Fi Network on Windows 10
In this post, we have listed 8 ways to fix the can’t see my wifi network on Windows 10 issue.
See also: {Solved} One or More Network Protocols are Missing on This Computer
Enabling the Wi-Fi Service
The easiest and most common way to fix this issue is by enabling the Wi-Fi service. Many laptops have a dedicated key or a switch to turn on or off the Wi-Fi service. Otherwise, you may press Fn + F5 keys together.

This will turn on the Wi-Fi service.
Fix: Windows 10 Won’t Automatically Connect To WiFi
Turning the WLAN AutoConfig Service
This service is used to configure the wireless security and connectivity settings. It helps in connecting to the preferred Wi-Fi network automatically.
- To open the run dialogue box, press the Windows + R keys together. After the dialogue box opens, write services.sc and press enter.

- From the given list, right-click on WLAN AutoConfig and select properties.

- Under startup, click on automatic and then click apply
- Check whether the problem is solved by restarting the PC
See also: How To Check If My Laptop Supports 5ghz WiFi? | Step-By-Step Guide
Checking the Network Settings
In a case where you don’t have a specific Wi-Fi key on your laptop/computer, you can use this step
- Right-click on the internet icon in the taskbar and then open the network sharing centre
- Next, go to the adapter setting
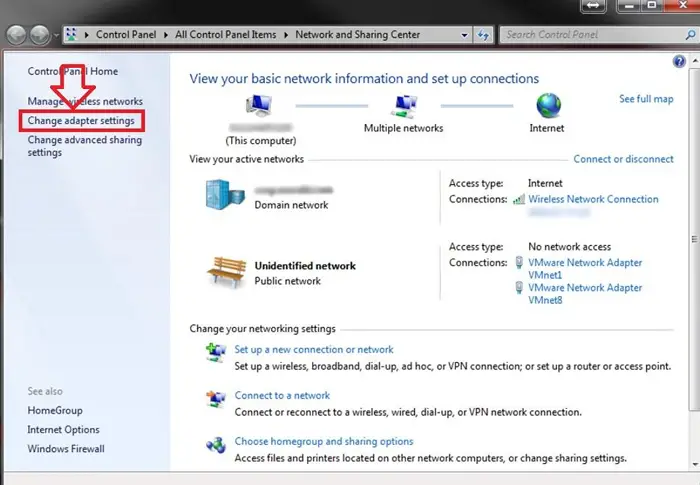
- Right-click on Wi-Fi and then click enable
- Restart the laptop/computer to check if the error Windows 10 can’t find the network is fixed
Running Command Prompt
- In the search bar, type the command prompt. Next, run as administrator on the start command prompt
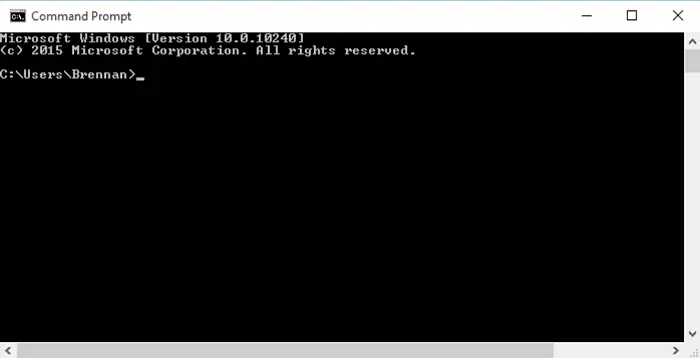
- Run these commands:
ipconfig /releaseipconfig /renew
- Restarting the PC might help in solving can’t see my Wi-Fi network on Windows 10

Updating Wi-Fi Drivers
- Open the Run dialogue box by pressing the Windows + R keys, write devmgmt.msc, and enter.
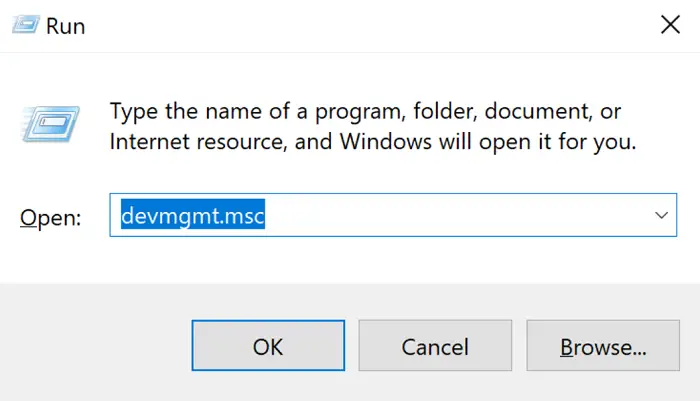
- From the given list, click on the arrow beside network adapters.
- Locate the Wi-Fi adapter. It has wireless in its name.
- Select update driver

- Click on automatically search for drivers for searching the drivers automatically.
- If you don’t want the automatic search option, then select Browse My computer for drivers and download the drivers from the device manufacturer’s official website.
- Continue with the update.
After the update, check if the error can’t see my Wi-Fi network on Windows 10 is resolved.
Keeping the Windows Updated
- Go to the settings
- Here, select update and security
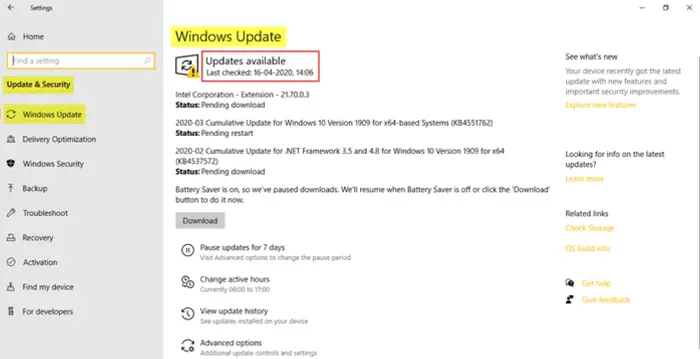
- Under update and security, go to check for updates to view any available updates
- After installing the updates, restart the PC.
Now see if Windows 10 can’t see the network is solved.
Check if the Frequency is Correct.
The wireless connection has a specific standard frequency: 2.4GHz and 5GHz. The older devices use mainly 2.4 GHz.
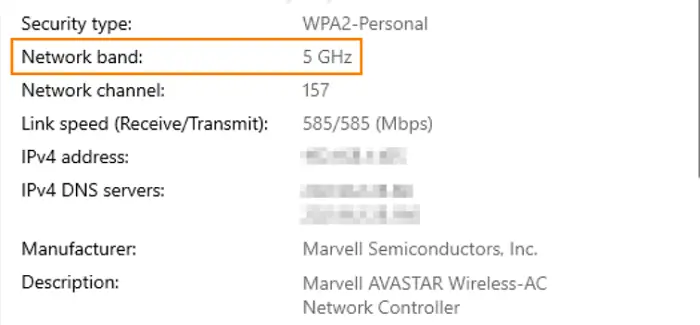
It may be possible that the device does not support 5GHz. Check it and adjust the router to use the standard 2.4GHz. It might help in solving can’t see my Wi-Fi network on Windows 10.
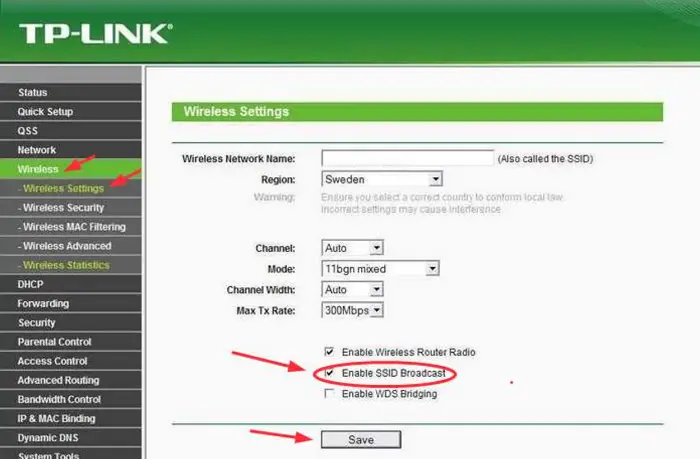
Enabling SSID Broadcast for The Wi-Fi
SSID stands for Service Set Identifier broadcast, making the Wi-Fi network visible to the network adapter. If the SSID broadcast is disabled, the Wi-Fi network won’t appear in the list. To enable SSID, follow these steps:
- Check the IP address, username, and password on the wireless router
- Open any browser and type the IP address, and press Enter
- Use your password and username to avail of the services of the website
- Next, go to wireless, then wireless settings. Check the box with Enable SSID broadcast and save.
See also: Problem With Wireless Adapter Or Access Point? Fix It Right Away!
FAQs
Why is Windows 10 not recognizing my WiFi network?
Windows 10 might not be able to discover your WiFi network due to a variety of reasons, including driver conflicts, network adapter problems, wrong setups, or interference. Restart your router, installing network drivers, clearing your network settings, turn off aeroplane mode, and checking for Windows updates are all steps you can do to fix. Contact your network provider or look for additional assistance if issues persist.
How do I enable WiFi detection in Windows 10?
In order to turn on WiFi detection in Windows 10: It is possible to open the 'Start' menu by clicking it and then choosing 'Settings.' To access the network and internet, choose 'Network & Internet' settings. To access the WiFi settings, choose 'WiFi' from the left sidebar. Place the 'WiFi' switch in the 'On' position to turn on WiFi. Finding and connecting to WiFi is now available as a result.
How can I install my WIFI driver again?
You need to: to replace your WiFi driver. Look for the exact model of your WiFi adapter in Device Manager. Select 'Uninstall device' with the right mouse click, then click 'OK' to remove the adapter. Download the latest driver from your laptop's or device's manufacturer. Launch the driver package you downloaded and follow the installation guidelines. Restarting your computer after installation will make the changes effective.
How should my Realtek Wi-Fi driver get updated?
Realtek Wi-Fi driver updates are as follows: Visit the Realtek website or the website of the company that made your laptop to obtain the most recent driver for that particular model. In Device Manager, select 'Uninstall device' by right-clicking the Wi-Fi adapter. Run the driver package you downloaded and follow the installation guidelines. Restart your computer after installation to make changes effective.
Conclusion
Whether you are working or watching your favourite movie, errors like can’t see my Wi-Fi network on Windows 10, can be very irritating. Next time you come across the “particular Wi-Fi network not showing in Windows 10” error and can’t see your Wi-Fi network on Windows 10, we hope that the methods mentioned in this guide will help you fix this issue, and you’ll be able to connect to your home Wi-Fi network. Read this article if you want to fix the error of not seeing other computers on your network window10
See Also: Windows Doesn’t Have A Network Profile For This Device [FIXED]
You can always find me playing the piano or playing FIFA when I’m not binge-watching TV Series with pizzas. Fountainhead of TechWhoop.