System 32 Error is one of the most important parts of a PC. System updates streaming media support, encryption services, audio, video playback, and even the Windows interface, quite literally the computer’s brain.
If you come across any errors related to System32, there are a few troubleshooting steps that you can follow. Firstly, try restarting your computer, as sometimes a simple restart can fix temporary issues. Secondly, run a malware scan, as malware infections can harm System32 files. Use reliable antivirus software to scan your computer and remove any malware.

Several reasons your PC might be showing a System 32 error. A corrupted registry, Viruses, and malware mainly cause system 32 error. To eliminate this problem, creating a system backup regularly is always advised, or you can use computer maintenance tools to get a permanent resolution. Generally, the System32 file is placed under C:\ drive in a Windows Operating system. It’s kept so that it remains far from the reach of the computer user.
See also: 10 Ways to Fix System Service Exception Error in Windows 10
Easy Fixes for System 32 Error in Windows
Today, we’ll discuss a possible solution for the system 32 error below.
Using the Command Prompt
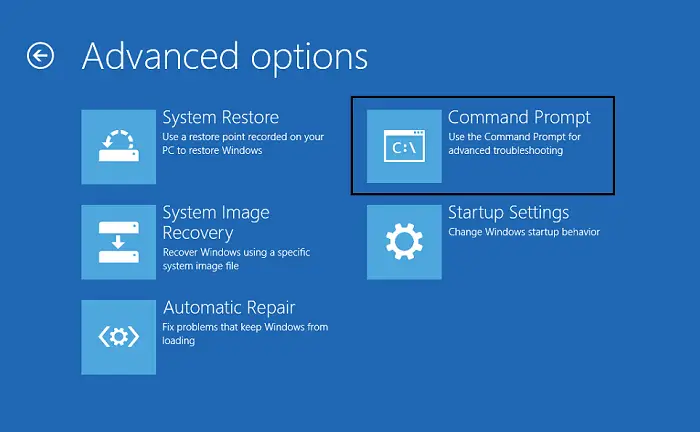
System 32 Error! The first way to deal with the system 32 error in a computer is to use commands in the command prompt in Windows. The only thing you’ll need here is the Windows Recovery Disk that came with your PC.
- Start this process by inserting the Windows recovery disk into your CPU and rebooting/Restarting your PC.
- This will land you on a pop-up Windows tab.
- Select the recovery mode.

- Finally, type in the command given below-
md tmp, copy C:\Windows\System32\configsystem
C:\Windows\tmp\system.bak
delete C:\Windows\System32\configsystem
copy C:\Windows\repairsystem
C:\Windowssystem32\configsystem
Now check if the computer still shows the error on the screen.
If No, Voila! You solved it.
If the system 32 error persists, head on to the next solution.
See Also: Fix ‘Microsoft Word Background Installation Ran Into A Problem’ Easily
Creating a Recovery Drive
System 32 Error! This solution requires you to have a USB flash drive/ Pen drive.
- Connect your USB device to your Windows computer.

- Go to the Windows search option and type “Recovery.”
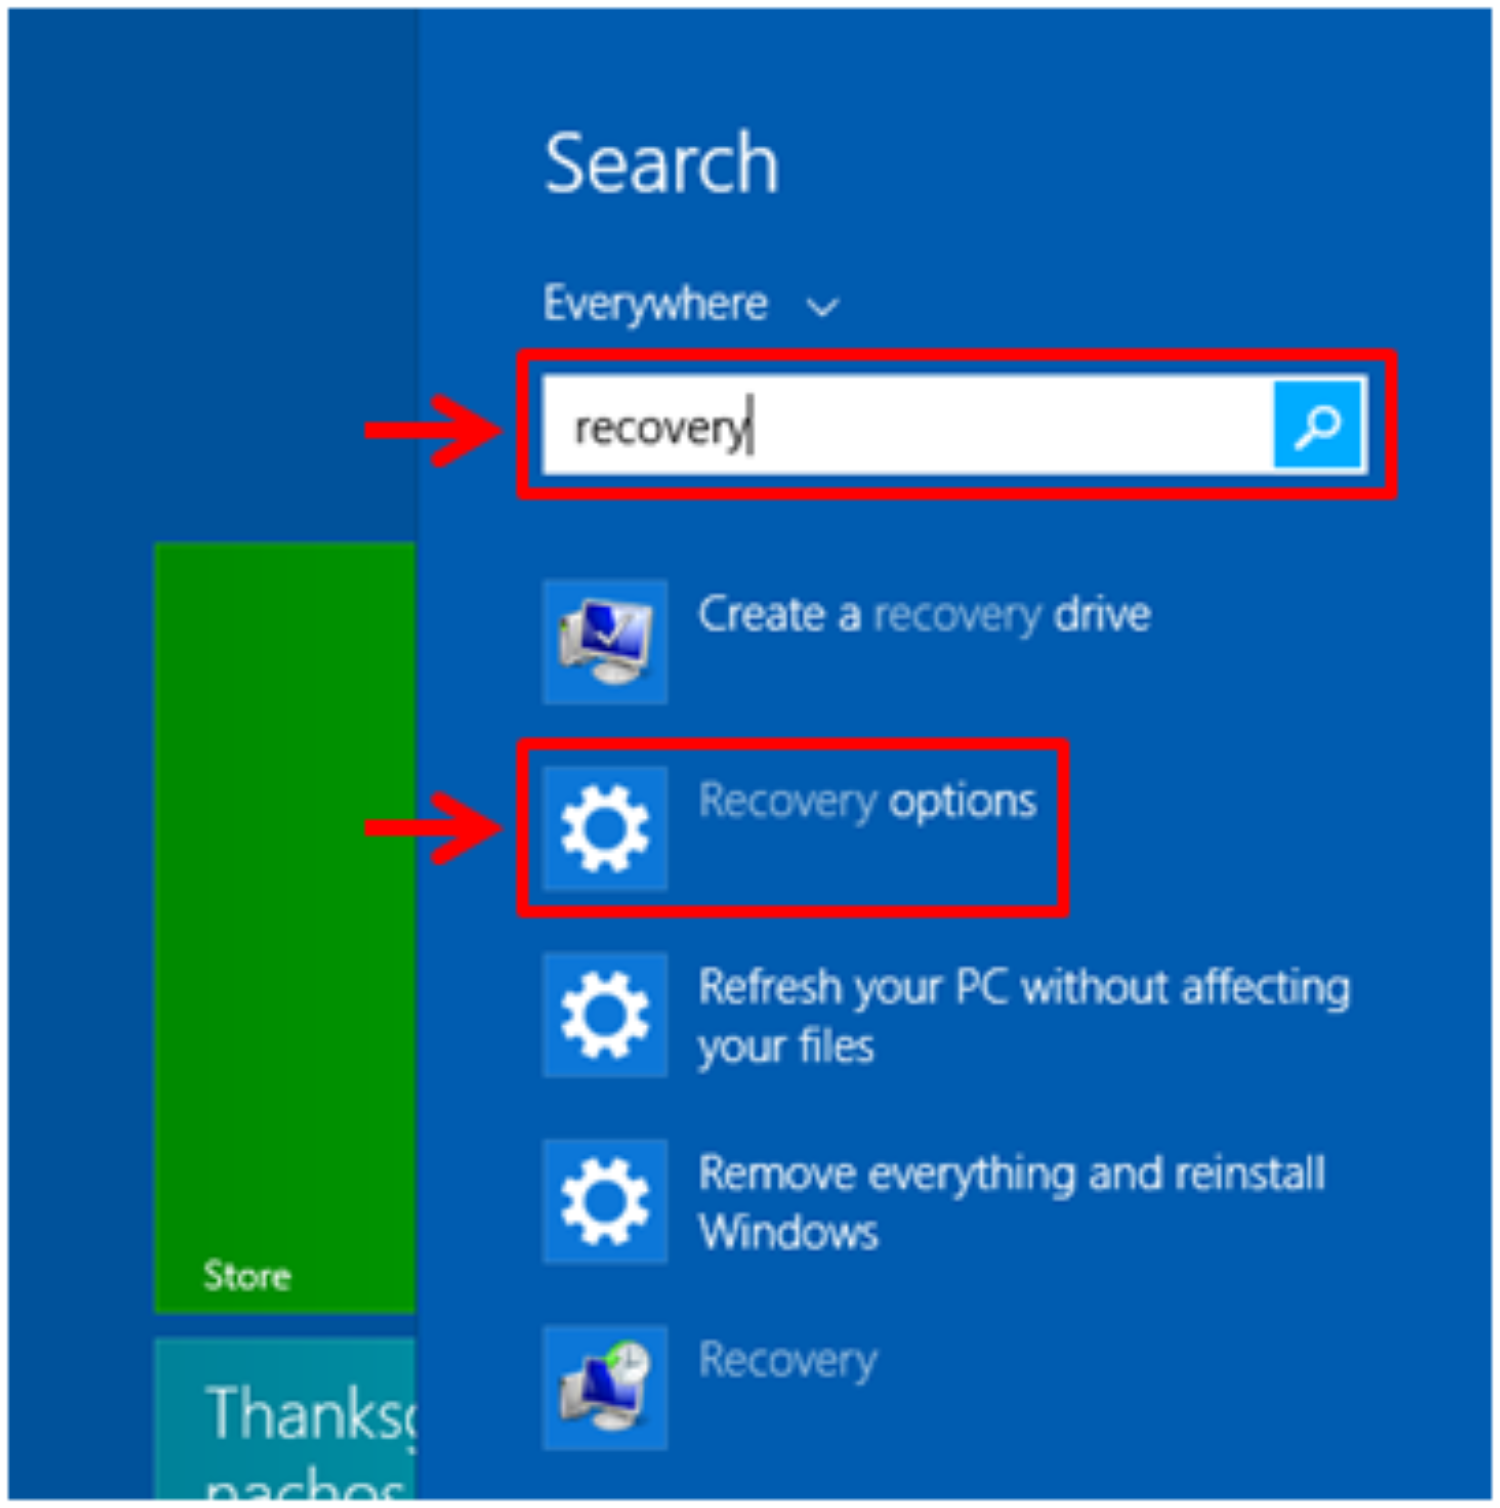
- Select the “Create a recovery drive” option.
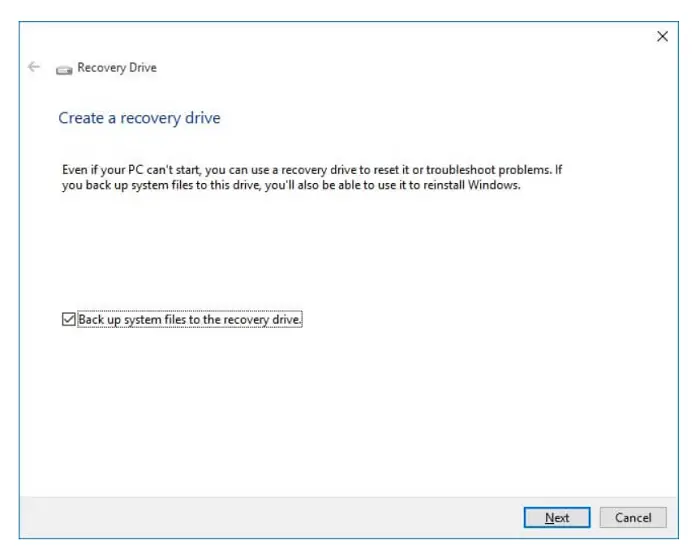
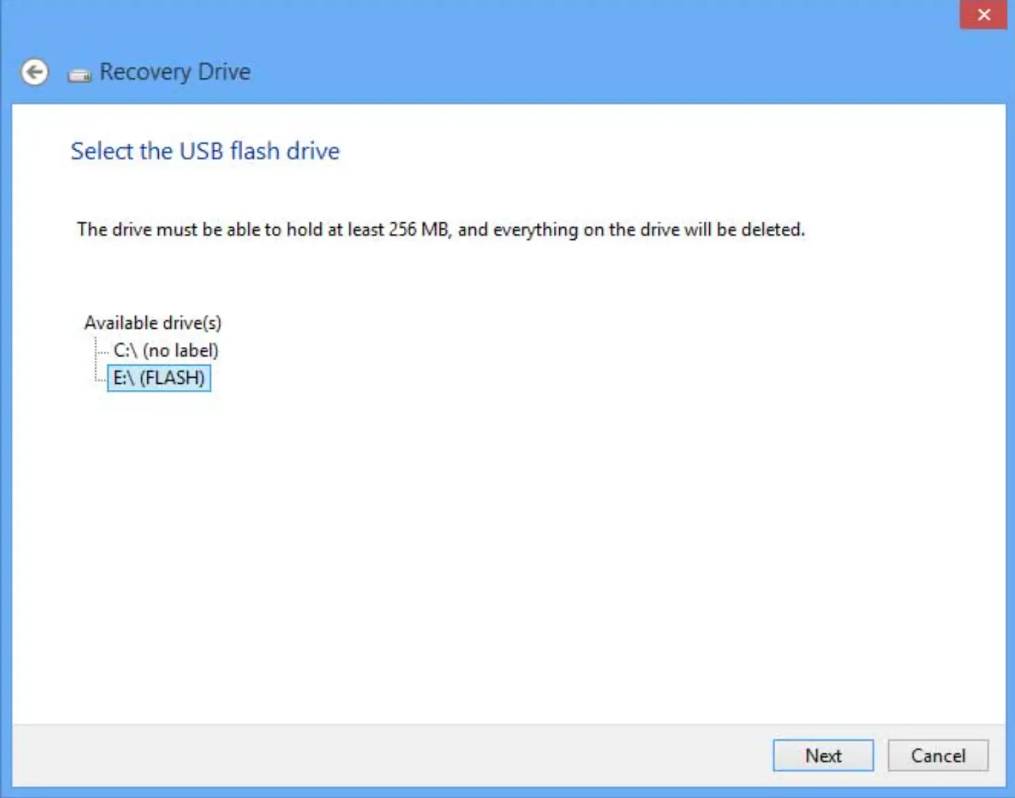
- Now, follow the instructions given on the screen.
- Create a recovery drive in the flash drive, connect it to your affected PC, and reboot it.

- Select from the recovery option available on the screen.

Check if the system 32 error still occurs. If yes, head on to the next solution.
See also: 5 Ways to Delete System Error Memory Dump Files
Run SFC (System File Checker) DISM (Deployment Image and Servicing Management Tool)
System 32 Error! The SFC tool helps you check whether all the crucial files in the system are in a cohesive environment.
Simple steps to check it are as follows-
- Press the Windows + X keys on the keyboard
- Select the command prompt(admin).
- In the command line, type the sfc/scannow.
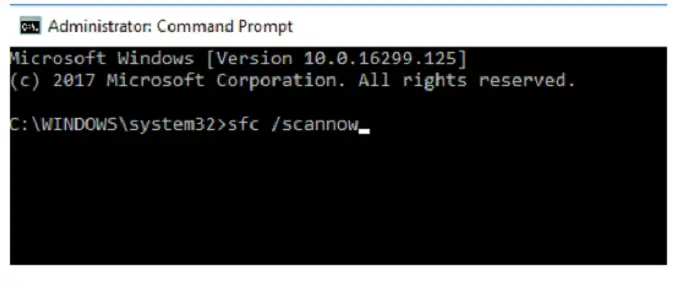
- Hit the Enter key.
- Give some time to the computer to complete the command.
- Reboot your PC.

Check if the system 32 error is fixed or not.
It’s always better to run DISM after SFC.
DISM image management command is used to mount and get information about Windows image (. wim) files or virtual hard disks (VHD).
The steps to run DISM are as follows –
- Open command prompt (using admin user).

- Type the following command and press enter after each line.DISM /online /Cleanup-Image / ScanHealth(Press ENTER)DISM /Online /Cleanup-Image /RestoreHealth(Press ENTER)

- Give time for these commands to accomplish.
- Reboot your PC.

See if the system 32 error goes away. If not, use the Final solution.
Perform a Clean Reinstallation
System 32 Error! If nothing works, you can choose to reinstall the operating system. Before reinstalling, it’s important to export your data. Choose between backing up data from the unbootable computer/recovering data when pc won’t boot.
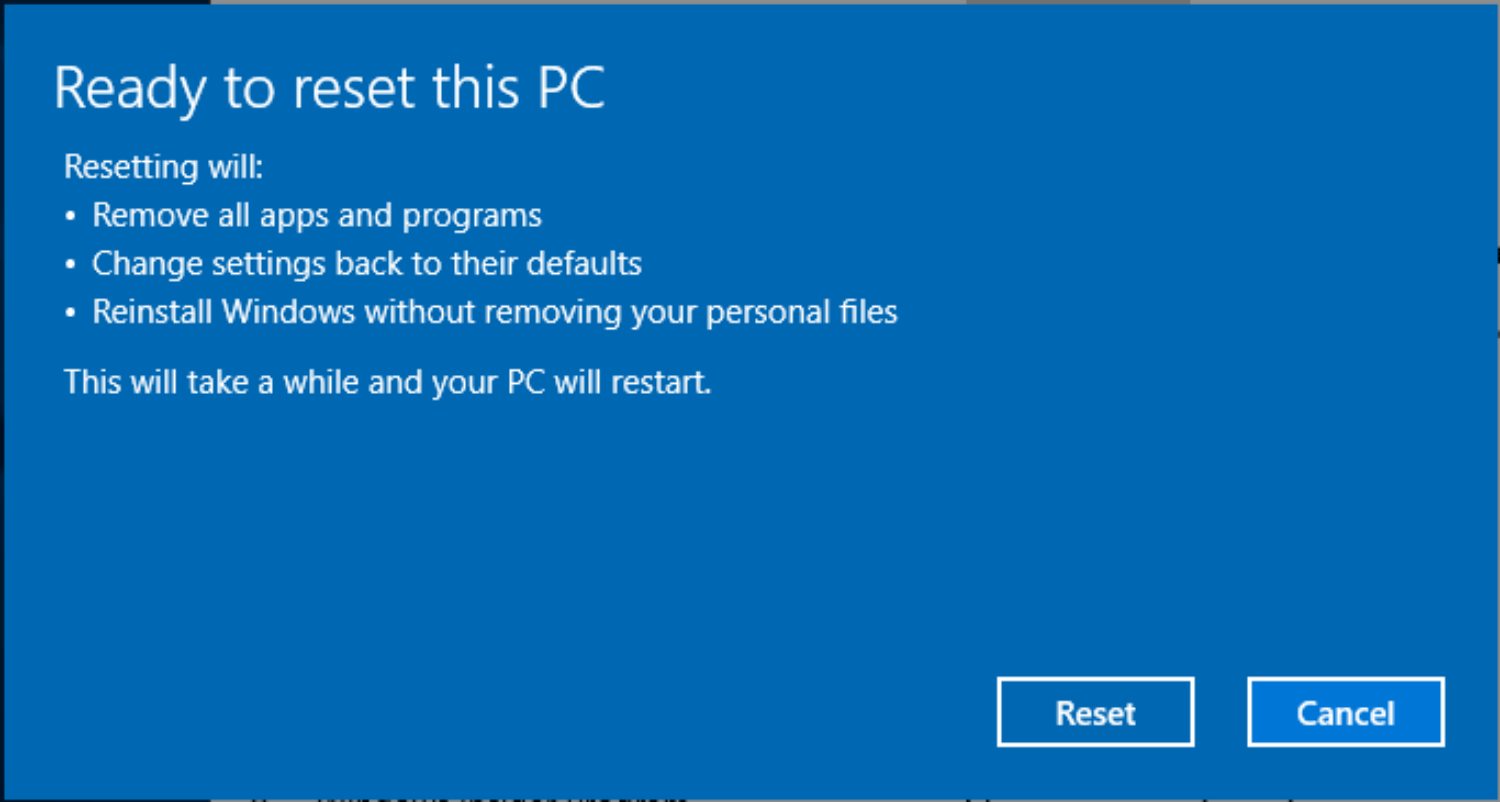
You can reinstall the operating system once you’ve created an external backup of your important data.
Follow the steps below to get the installation process correct and straightforward.
- Boot your computer/PC using the Windows installation disk.
- Select the required time, language, and keyboard input.

- Click on “Install Now.”

- Don’t forget to check the accept the license terms and click Next.

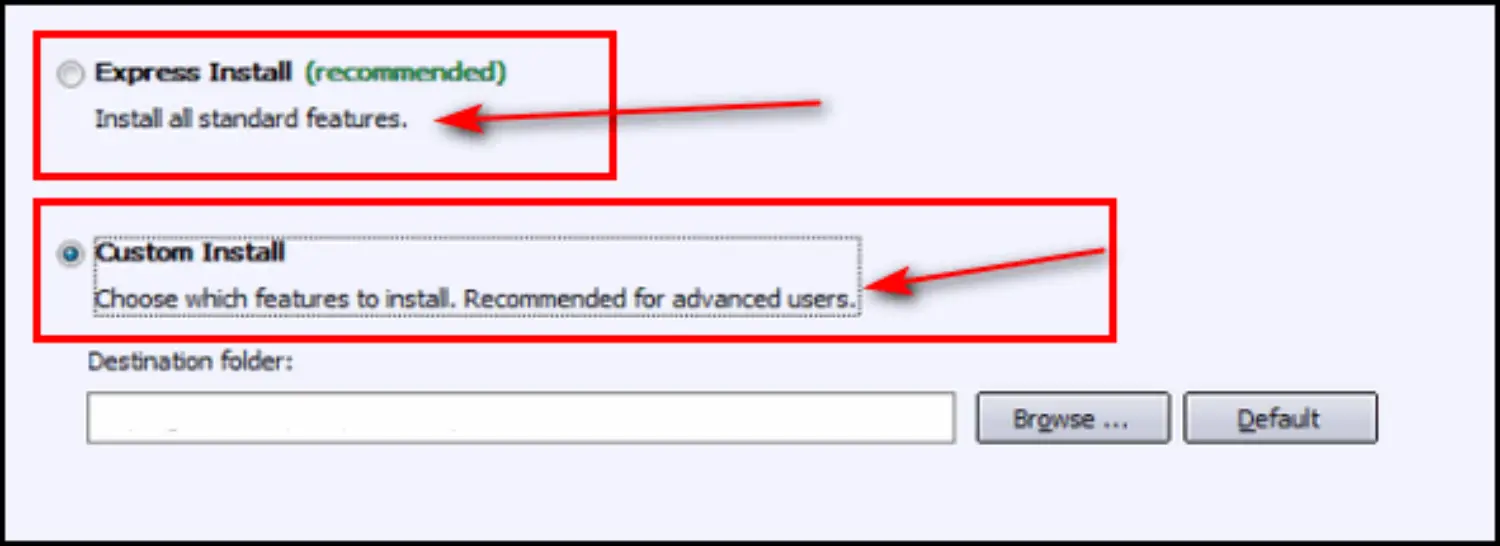
- Choose the type of installation you want. It is advisable to choose Custom (advanced).
- Select the drive to install Windows and click Next.
Once the process is over, the computer will reboot normally. This will, on the whole, solve any error whatsoever related to System32 being missing/corrupted.
See also: {Solved} 7 Best Ways to Fix 500 Internal Server Error
FAQs
What Is A System32 Error In Windows?
A System32 error in Windows alludes to an issue inside the System32 registry, a pivotal part containing fundamental framework records. At the point when these documents become defiled, missing, or harmed, it can prompt different errors and glitches in the working framework. The System32 organizer is crucial for the solidness and usefulness of Windows, and any error inside it can upset ordinary activities.
What Are The Usual Reasons For System32 Errors?
System32 errors can happen because of malware contaminations, defective equipment, deficient programming establishments, or coincidental cancellation of essential records. Furthermore, inappropriate closures, blackouts, and obsolete drivers can add to System32 errors.
How Can I Fix System32 Errors In Windows?
The following are two speedy and straightforward fixes to address System32 errors: 1. Framework Reestablish: Use the underlying Framework Reestablish element to return your PC to a past state when it worked accurately.
2.Reinstallation or Fix Establishment: To do this, make a bootable Windows establishment media, boot from it, and select the 'Fix your PC' choice.
How Can I Avoid System32 Errors In The Future?
To prevent System32 errors in the future, it is recommended to take certain precautions. Regularly back up your important files and system settings to ensure you have copies in case of any issues. Keep your operating system, drivers, and software up to date to benefit from bug fixes and improvements.
What's The Best Way To Reinstall System 32?
While the computer is booting up, press the 'F8' key on your keyboard. The 'Advanced boot options menu is opened with this command. Then hit 'Enter' after selecting 'Repair my computer.' The screen for System Recovery Options appears.
Is It Possible To Replace System32?
It's possible that you won't delete or replace a file in the System32 folder. In most cases, Access Denied indicates that there is insufficient permission. However, if the system uses the file, you may not replace it after acquiring ownership.
Conclusion
System 32 Error! Creating a system image is advisable once you’ve fixed this problem and are apprehensive about reoccurring. This saves a ton of time and effort in case of future failure in the system. This process is effective in safeguarding all of the computer system files.
Don’t mess with the system files in the Drive C folder on a Windows computer. Please, these files are susceptible and crucial for the whole functioning of the computer system. Please keep it away from the eye of the computer user or guest login.
See Also: 0x80042405 0xA001B Media Creation Tool Error- Fixed.
You can always find me playing the piano or playing FIFA when I’m not binge-watching TV Series with pizzas. Fountainhead of TechWhoop.